A New Sail for Tea Cup
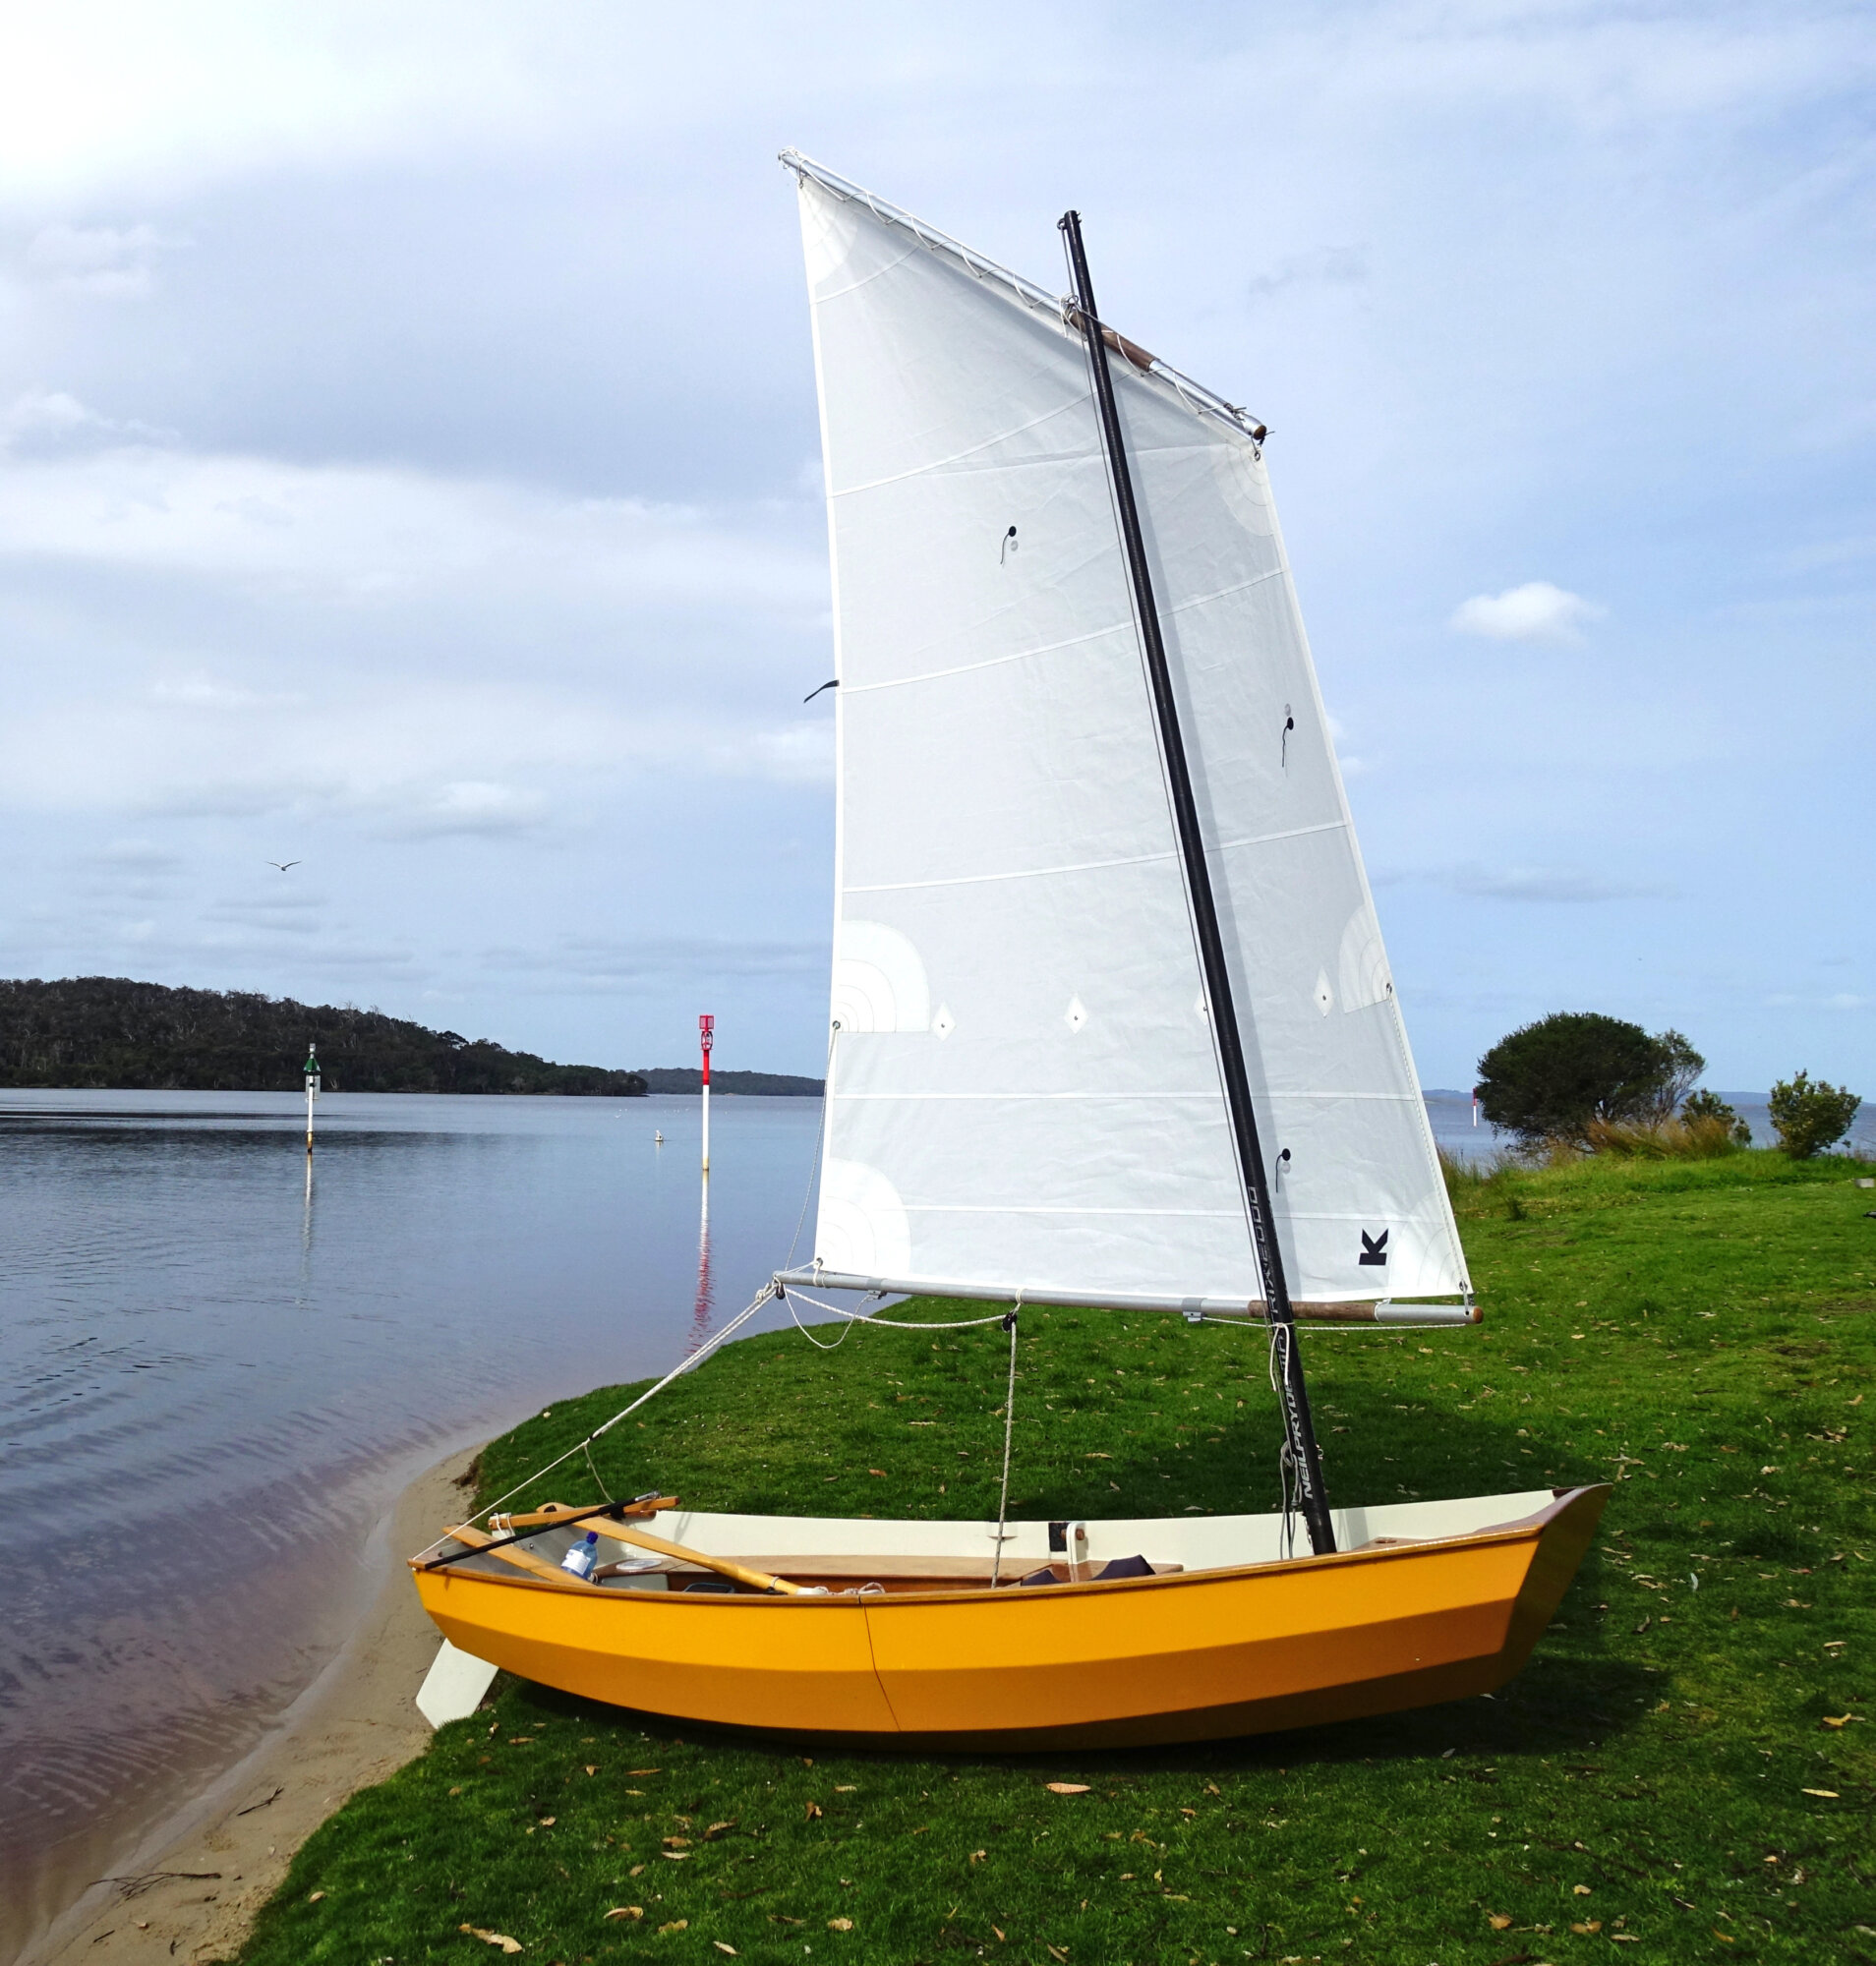
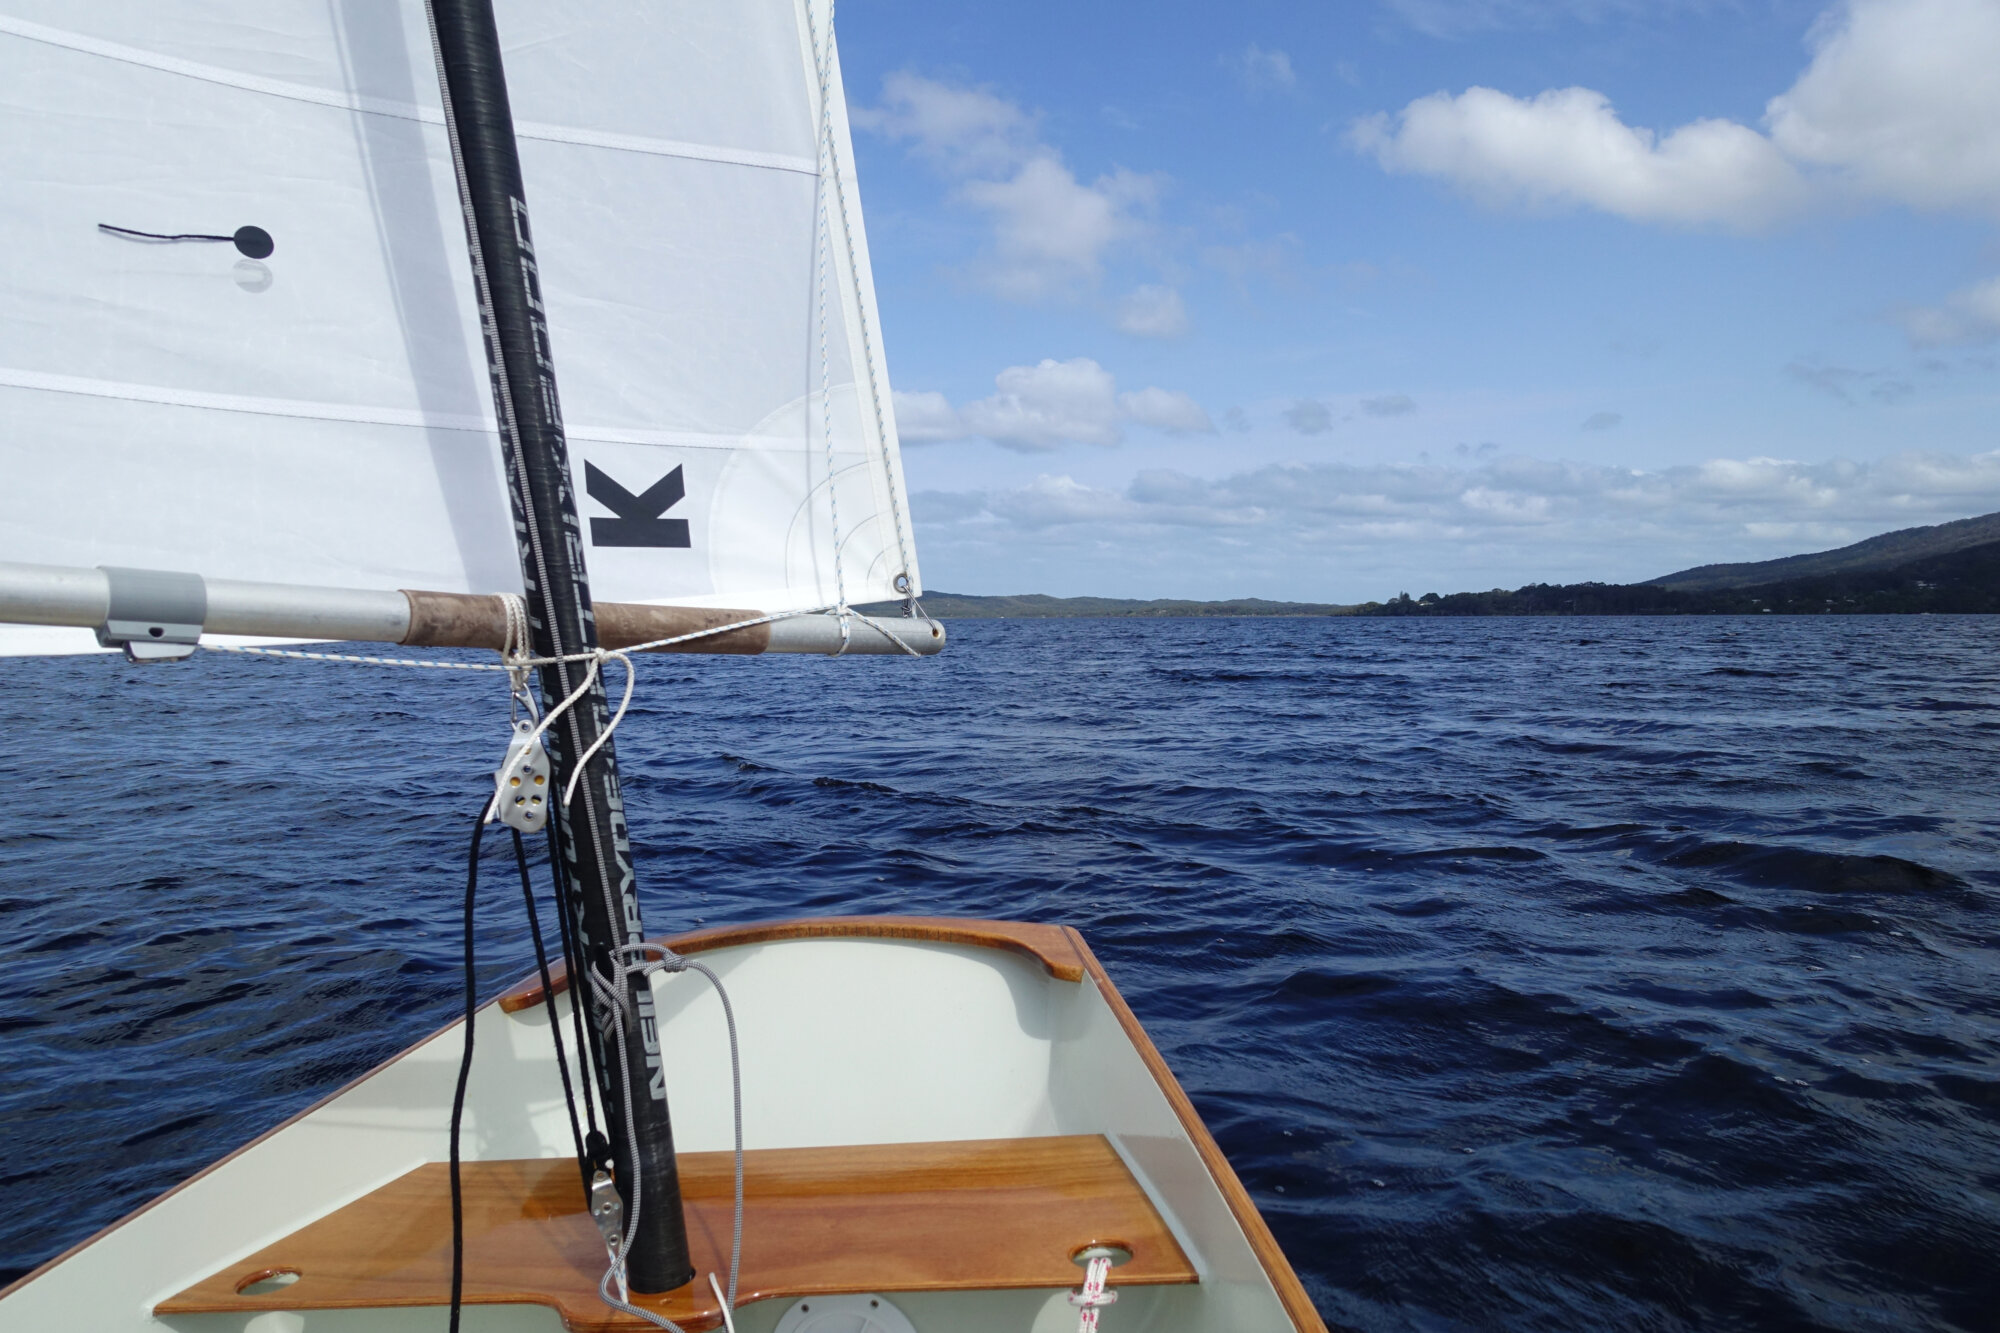
Tea Cup is an Ozona X nestimg pram designed by JF Bedard. It is a very neat design that, unlike most nesting dinghies, has seats. You don’t have to sit in the bottom in amongst the slops!
The background
When I built Tea Cup I initially used the mizzen from my Navigator on her. In doing this I knew the sail would be a bit small and have the centre of effort too far forward. Indeed, this was the case but nevertheless she still sailed very well. I then purchased a sail made to the designed sail plan. This was a fair bit larger and the boat’s performance was very impressive, especially in light air. However I concluded that the centre of effort of the new sail was, in my view, a bit too far back.
Sailing upwind in any kind of breeze I found that when I eased the sail in a gust the pressure in the sail would shift to the leach and the helm would increase very dramatically. If I was not quick the boat would get pushed head to wind and I would get stuck in irons. Tacking in a breeze was also difficult, you had to turn the boat solidly and get all of the sail setting as quickly as possible. If you were a bit slow in setting the sail the initial pressure on the leach would, again, push you into irons.
Noting that the centre of pressure was positioned close to the trailing edge of the centreboard I decided to cut the luff back by 400mm, hence moving the sail forward. This moved the centre of pressure forward so that it was now a bit behind the leading edge of the centreboard. (Given the sail’s generous size, and Perth’s breezes, the reduction of area was not a problem.) This modification to the sail transformed the boat! From being a bit of a cow to sail in a breeze the boat was now a pleasure. I could now sail through gusts and make tacks effortlessly.
The new sail
When I modified the sail I went to Graham Hill to purchase some heavy sailcloth tape to redo the luff. In our discussions he offered, should the modified sail work out, to design a new sail for me and plot out the panels on his plotter for me to cut out and sew up myself.
This was a wonderful offer and one that I really wanted to take up as this would be an amazing opportunity to learn a lot. There were also some aspects of the way that I had modified the sail that I was not happy with and a new sail would be very nice. However, I was a bit nervous about taking up his offer, it was so generous. However, some months later when I caught up with Graham again at the Tasmanian Wooden Boat Festival he repeated his offer. So, finally, I took him up on it.
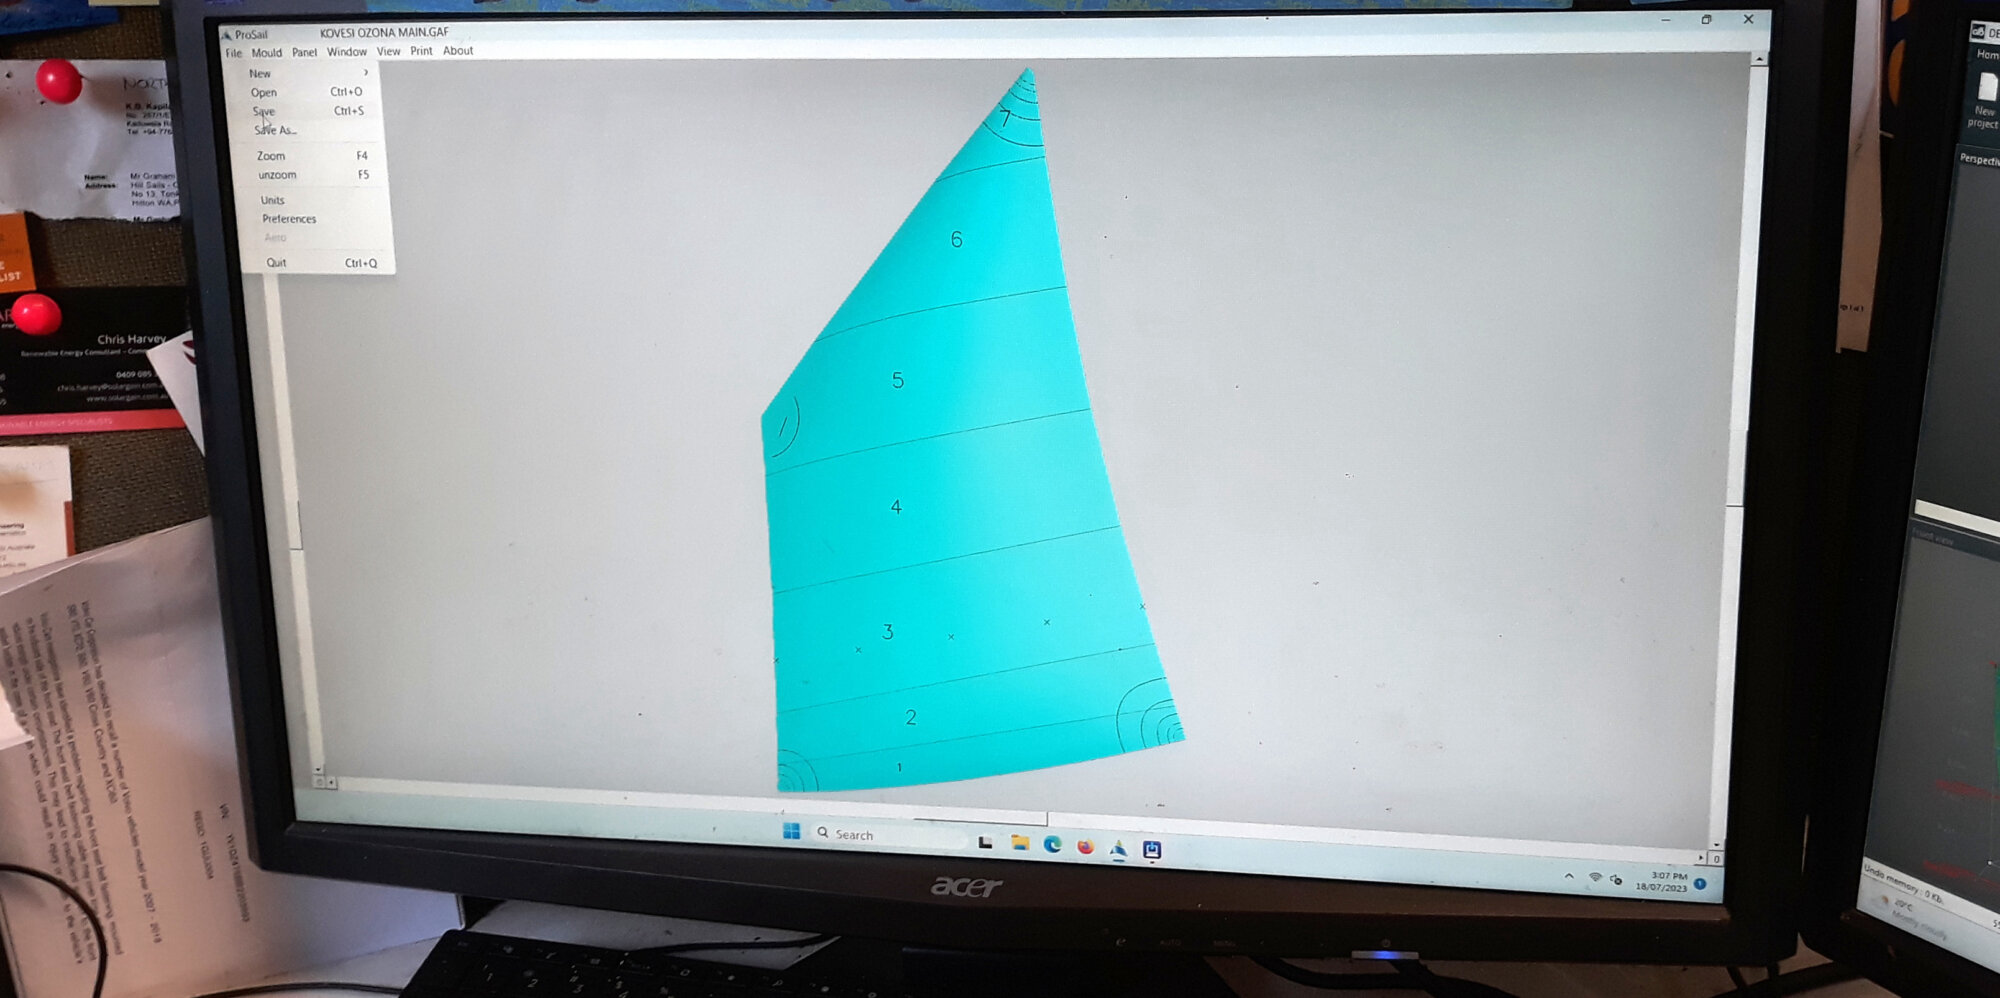
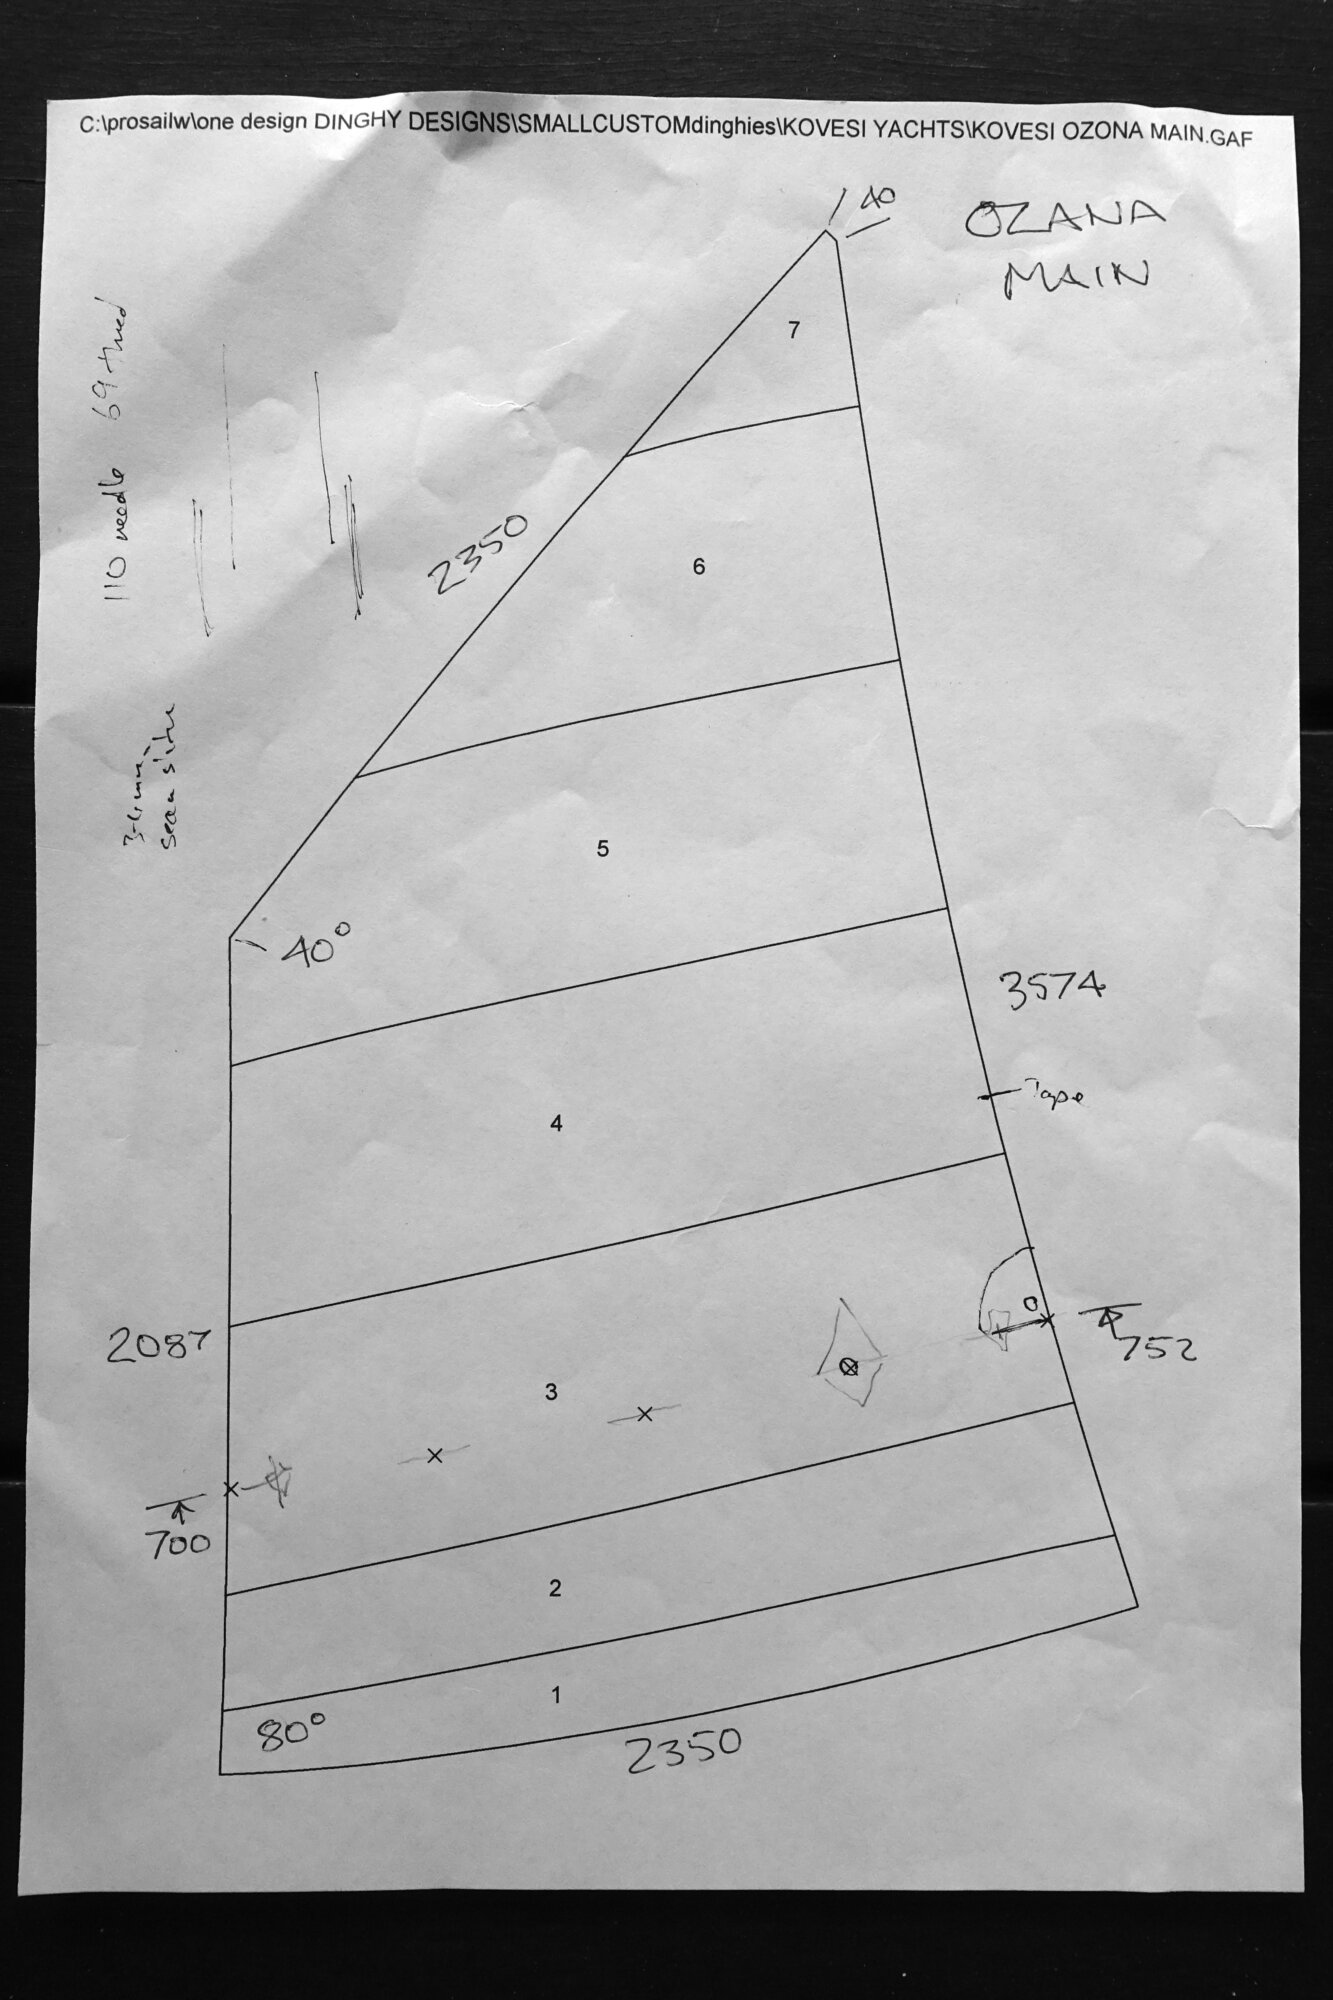
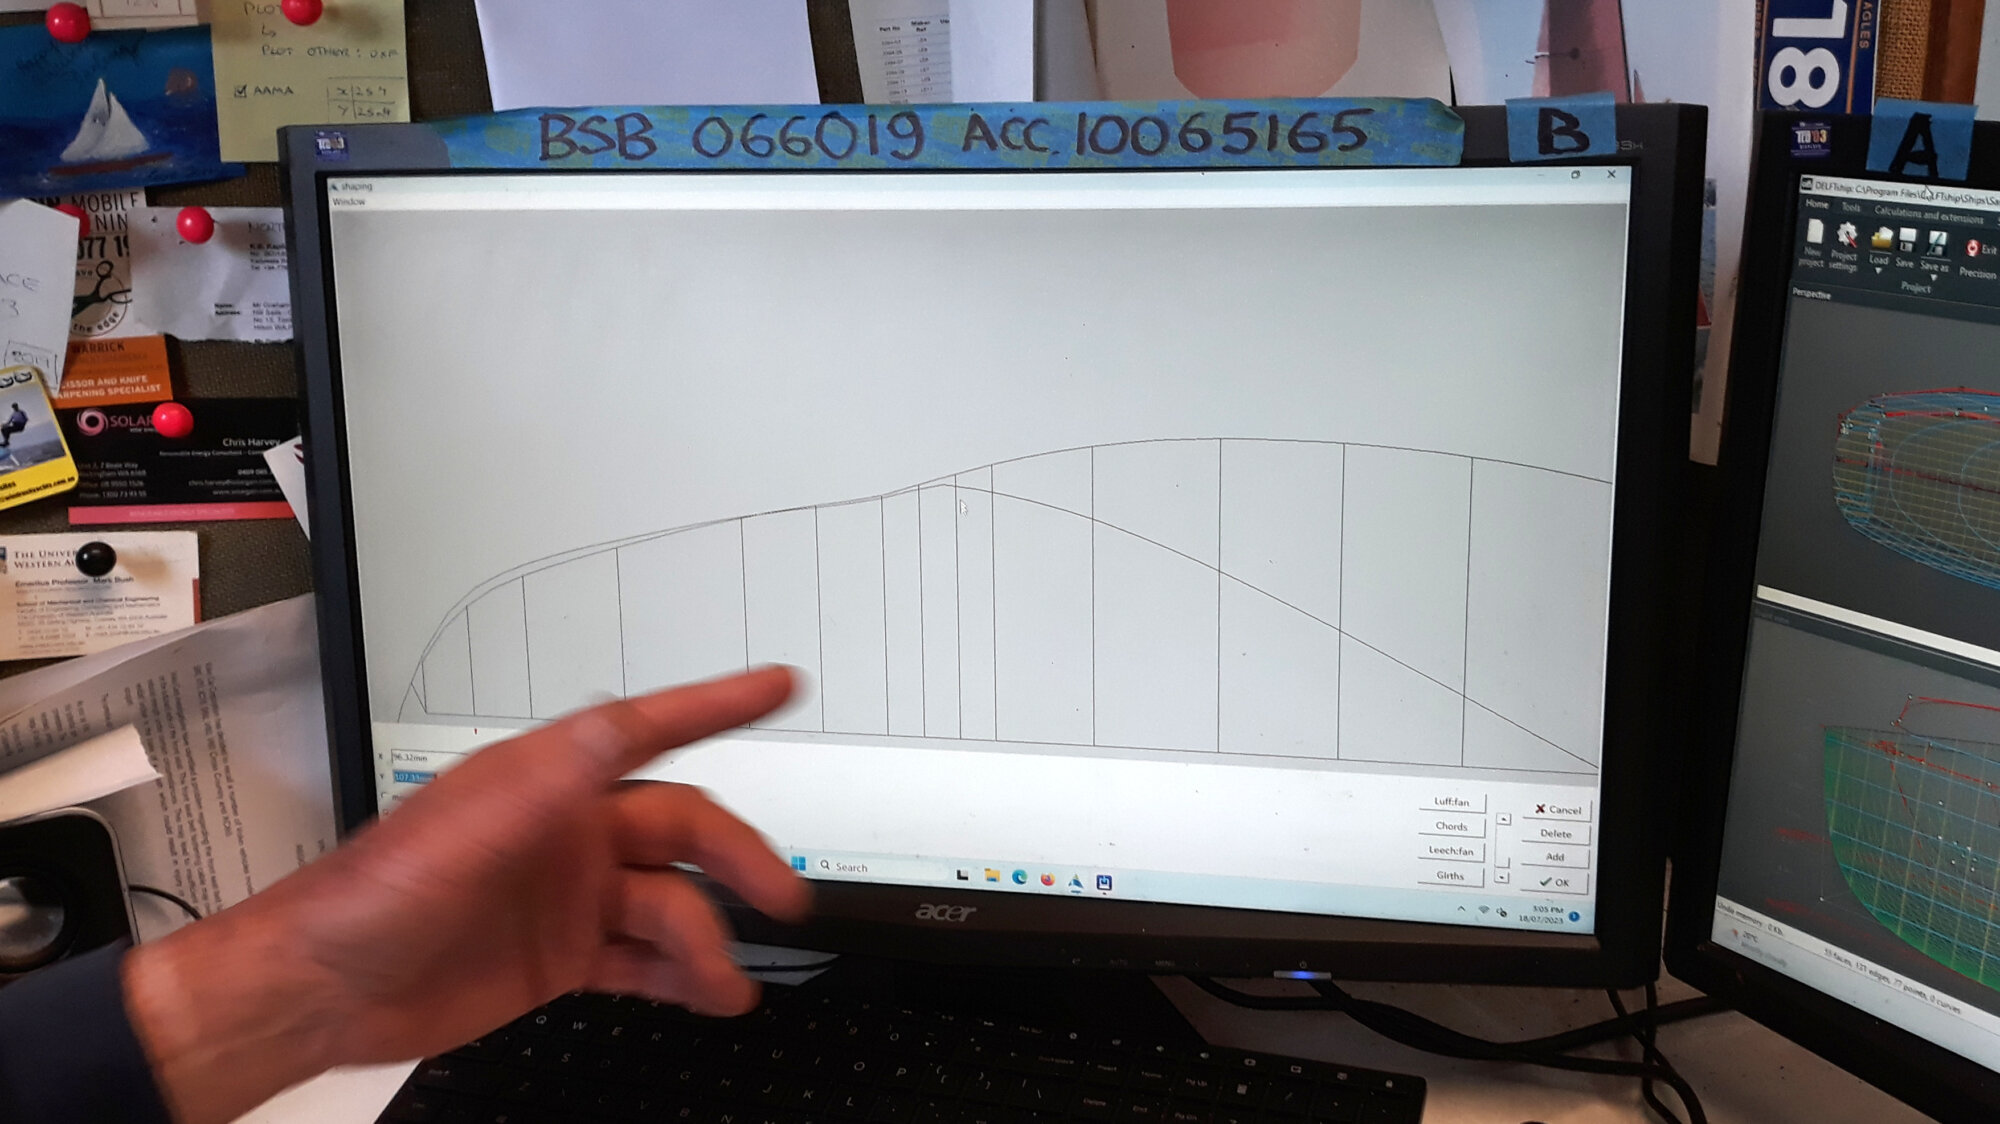
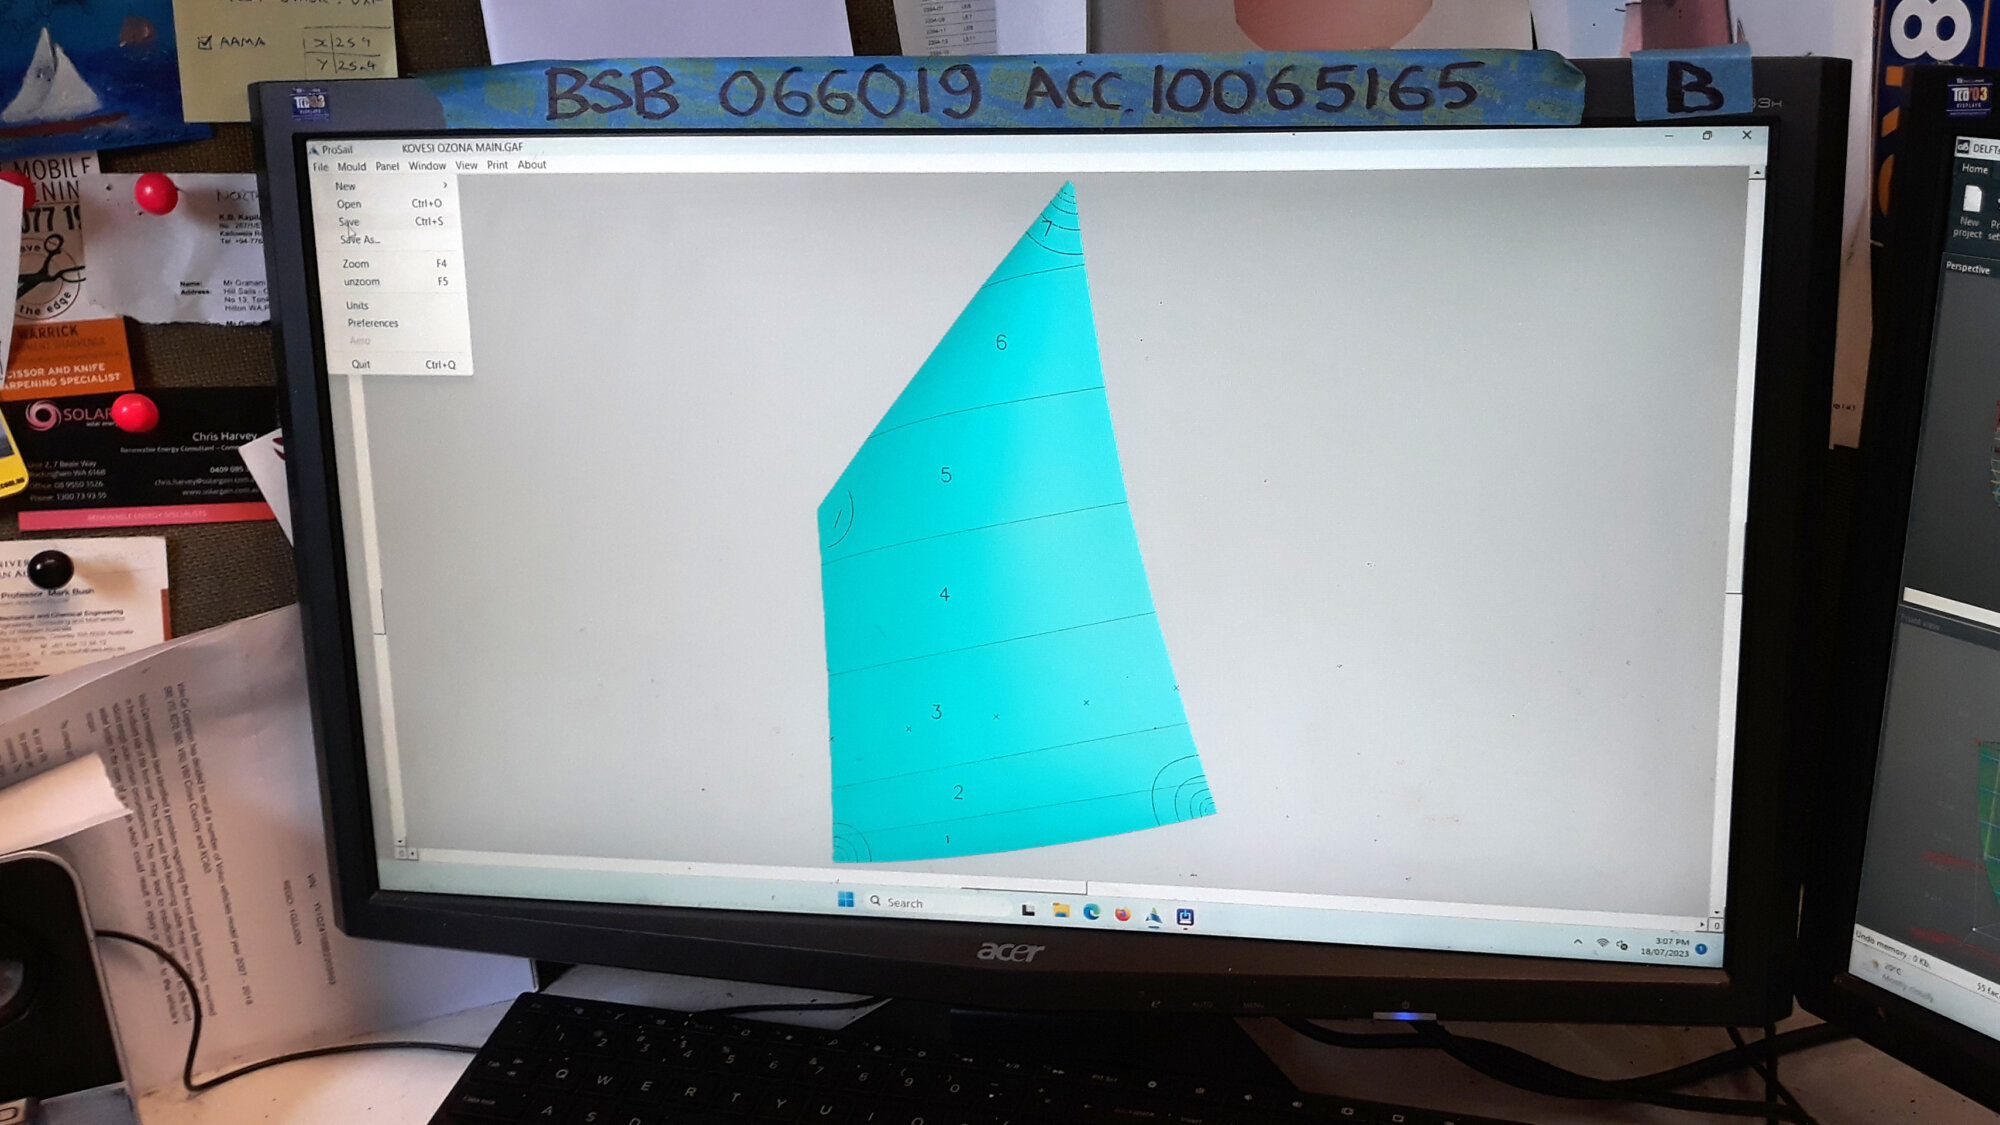
Armed with a sail plan that I had worked out I visited Graham. Sitting down with him at his computer he proceeded to draw it up and design the sail shape and panel arrangement. The care and attention he paid to this was amazing I kept telling him “This is just a small sail for my toy boat – it’s OK”. But, no, Graham would keep tweaking the shape, pushing and pulling things here and there until he was finally satisfied.
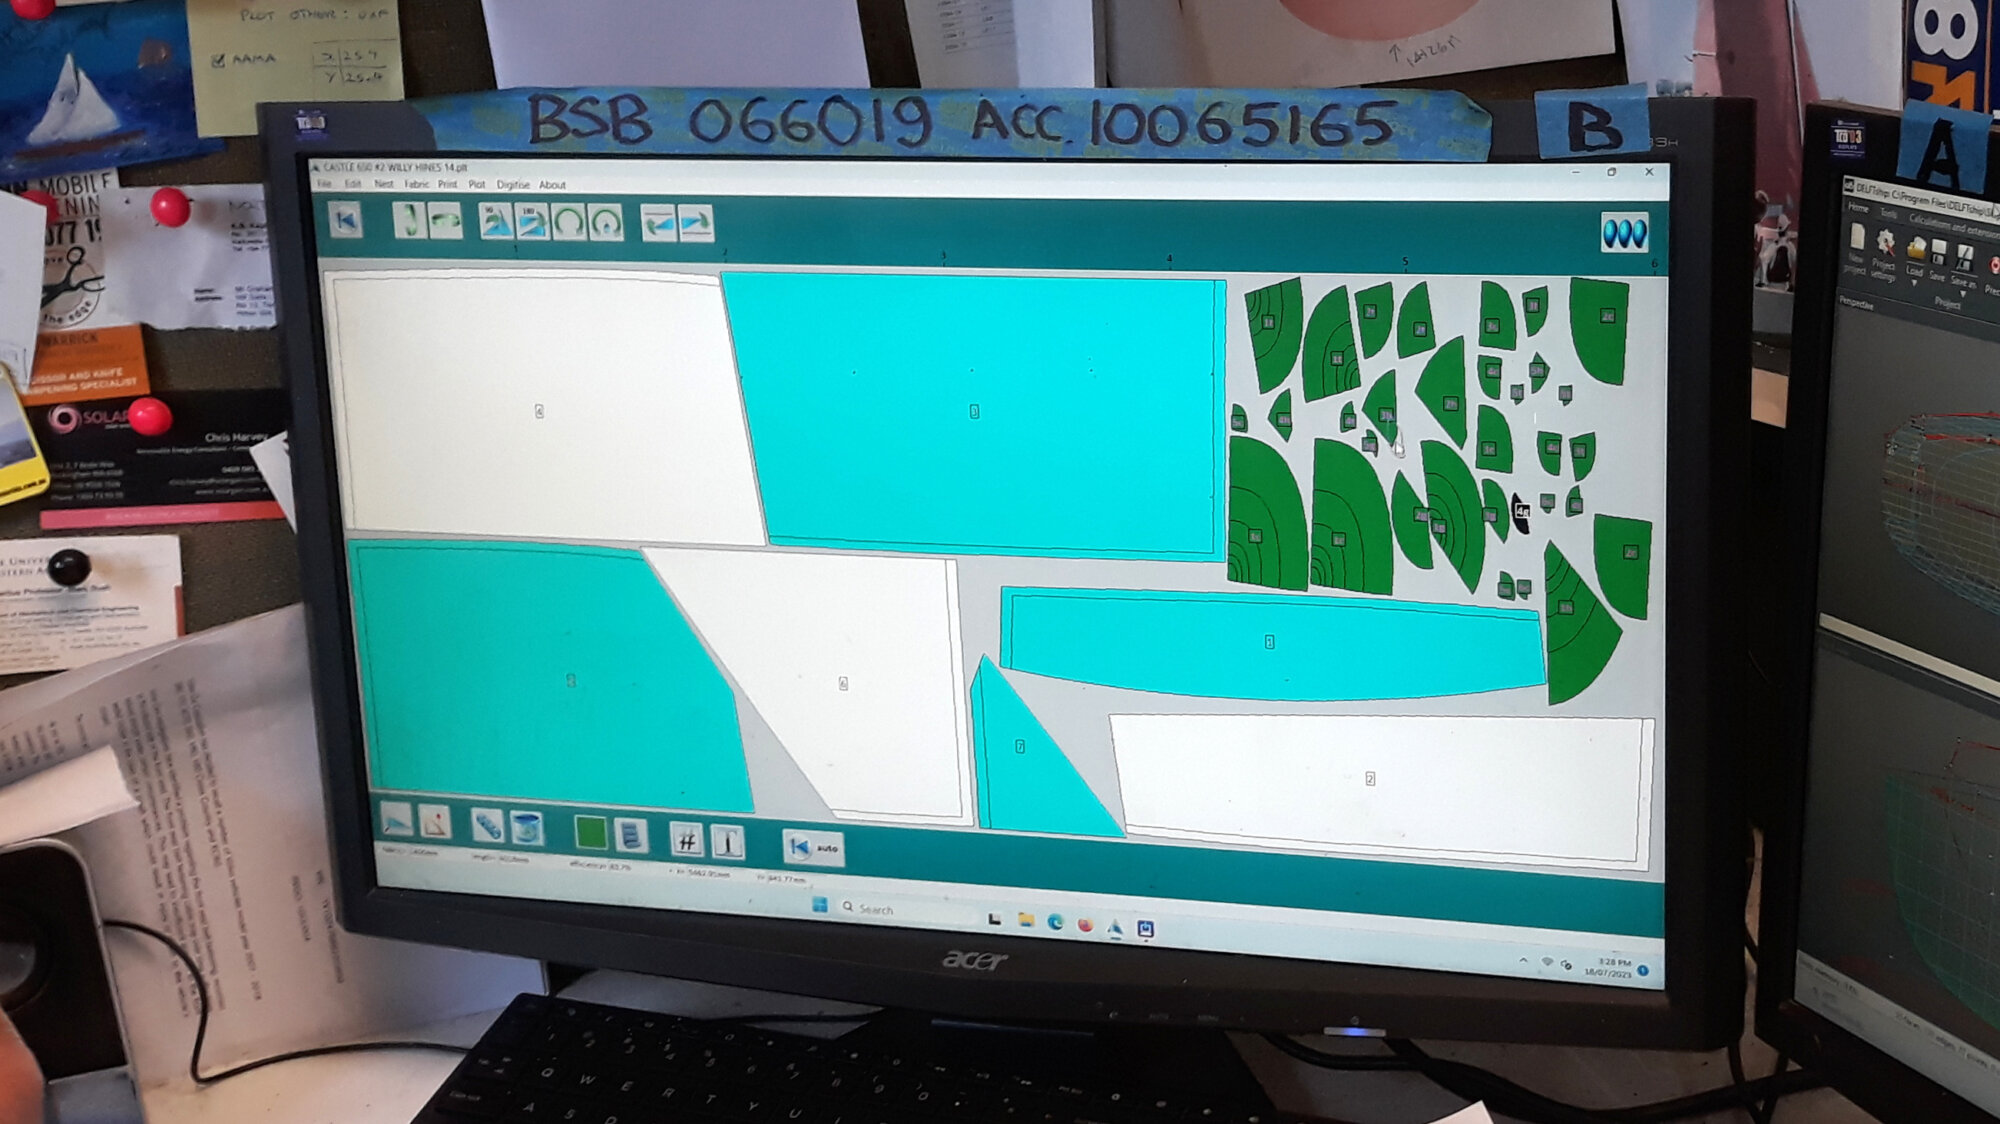
With this done he then went through all his rolls of sailcloth. None really satisfied him as being of the appropriate weight and softness so he ordered some in just for my sail! Finally I was able to go around to Graham’s and pick up my roll of sailcloth with all the panels and reinforcing patches plotted out on it. He them proceeded to explain to me how I should proceed with the cutting out and assembly, hot knifing technique, machine settings to experiment with, the traps to look out for, and a myriad of other details. Half an hour after I got home my phone rang … “There are a few more things I forgot to tell you …”
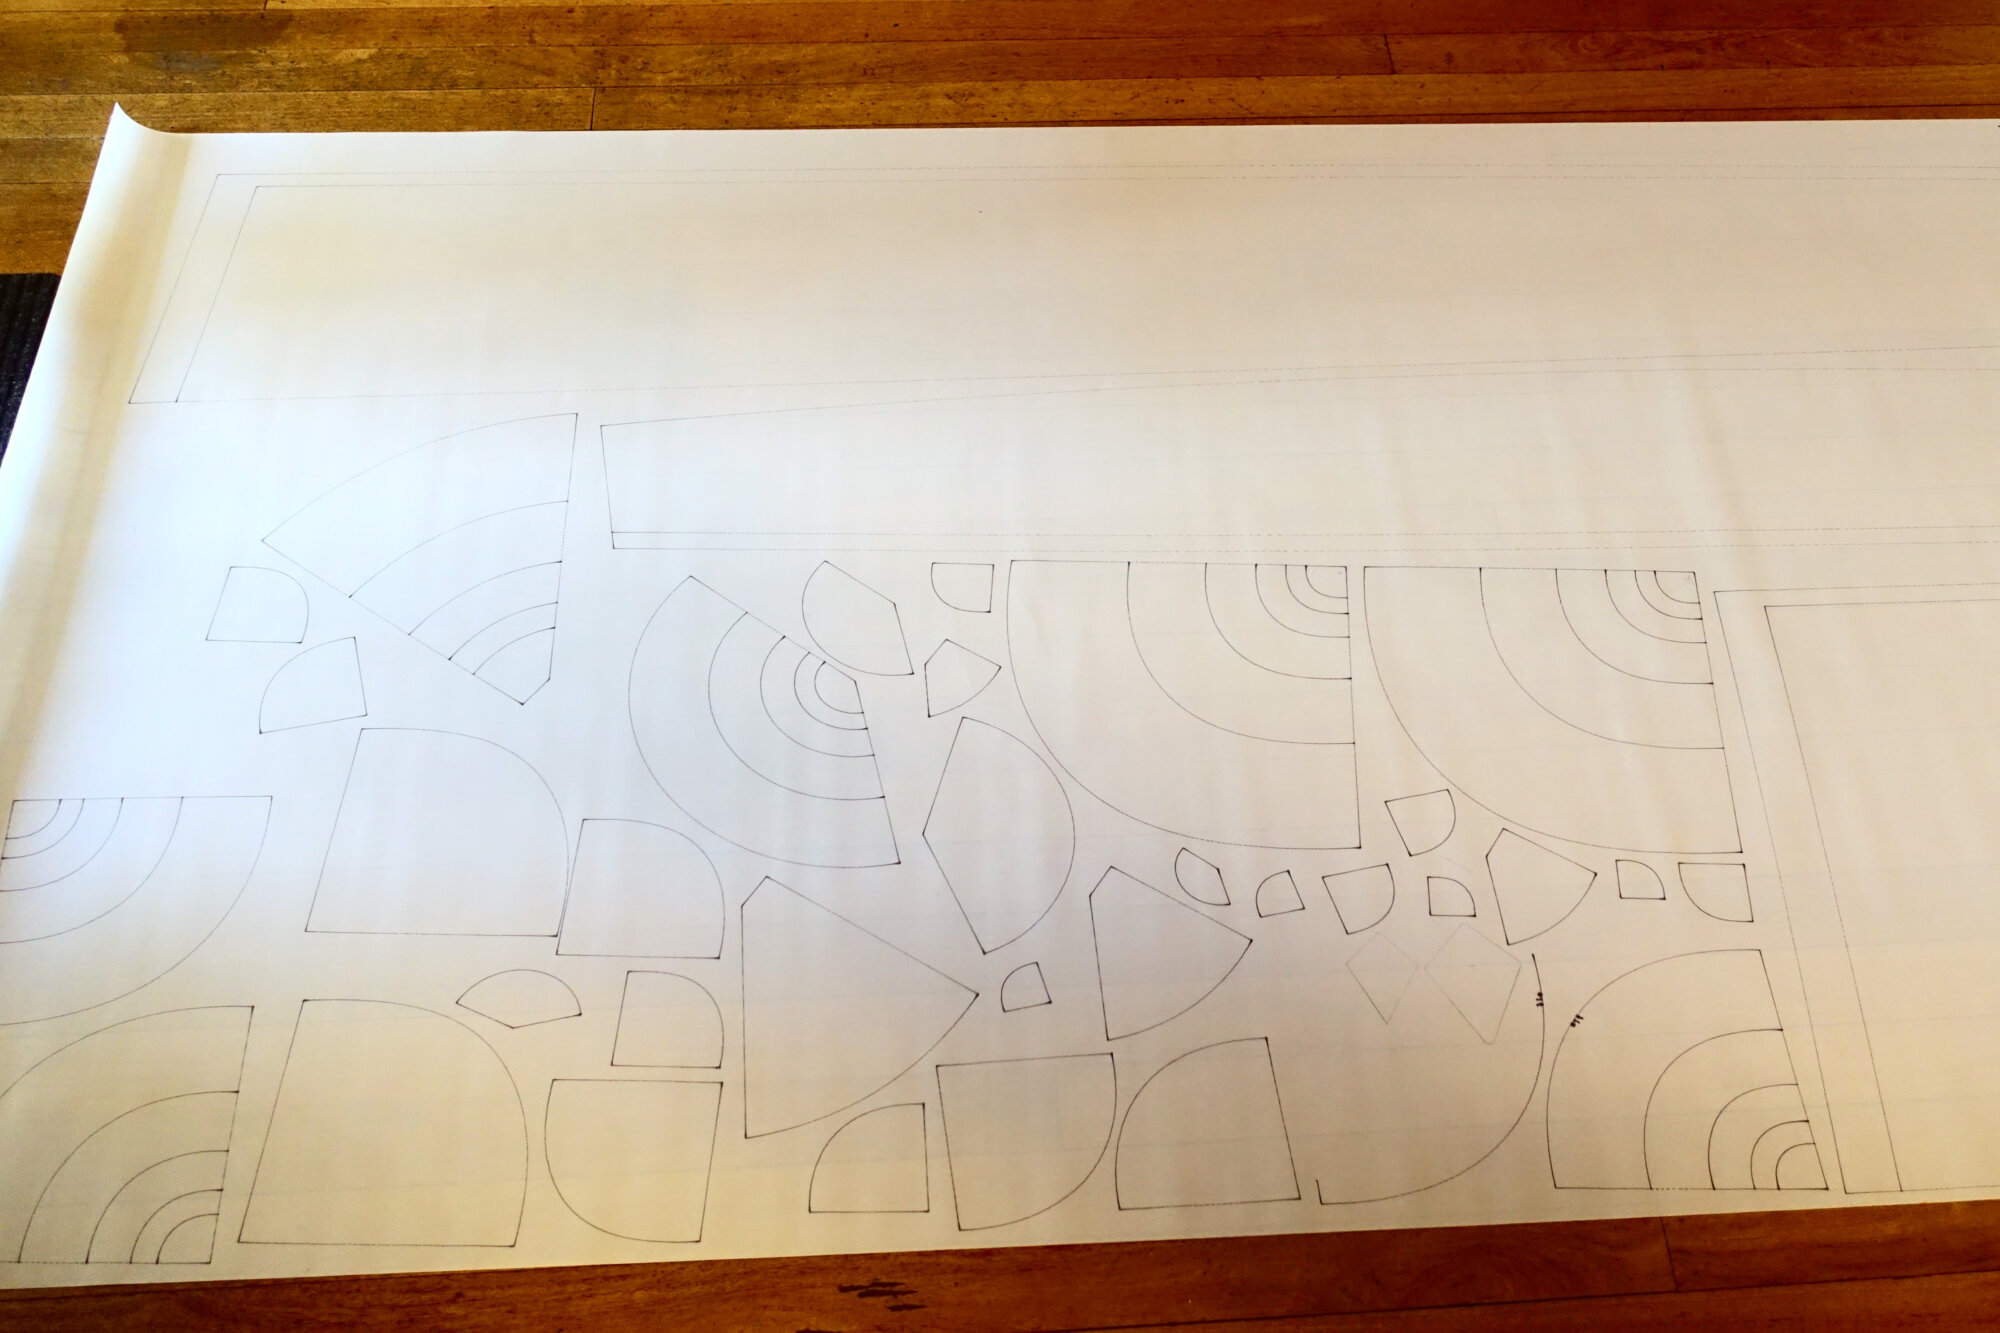
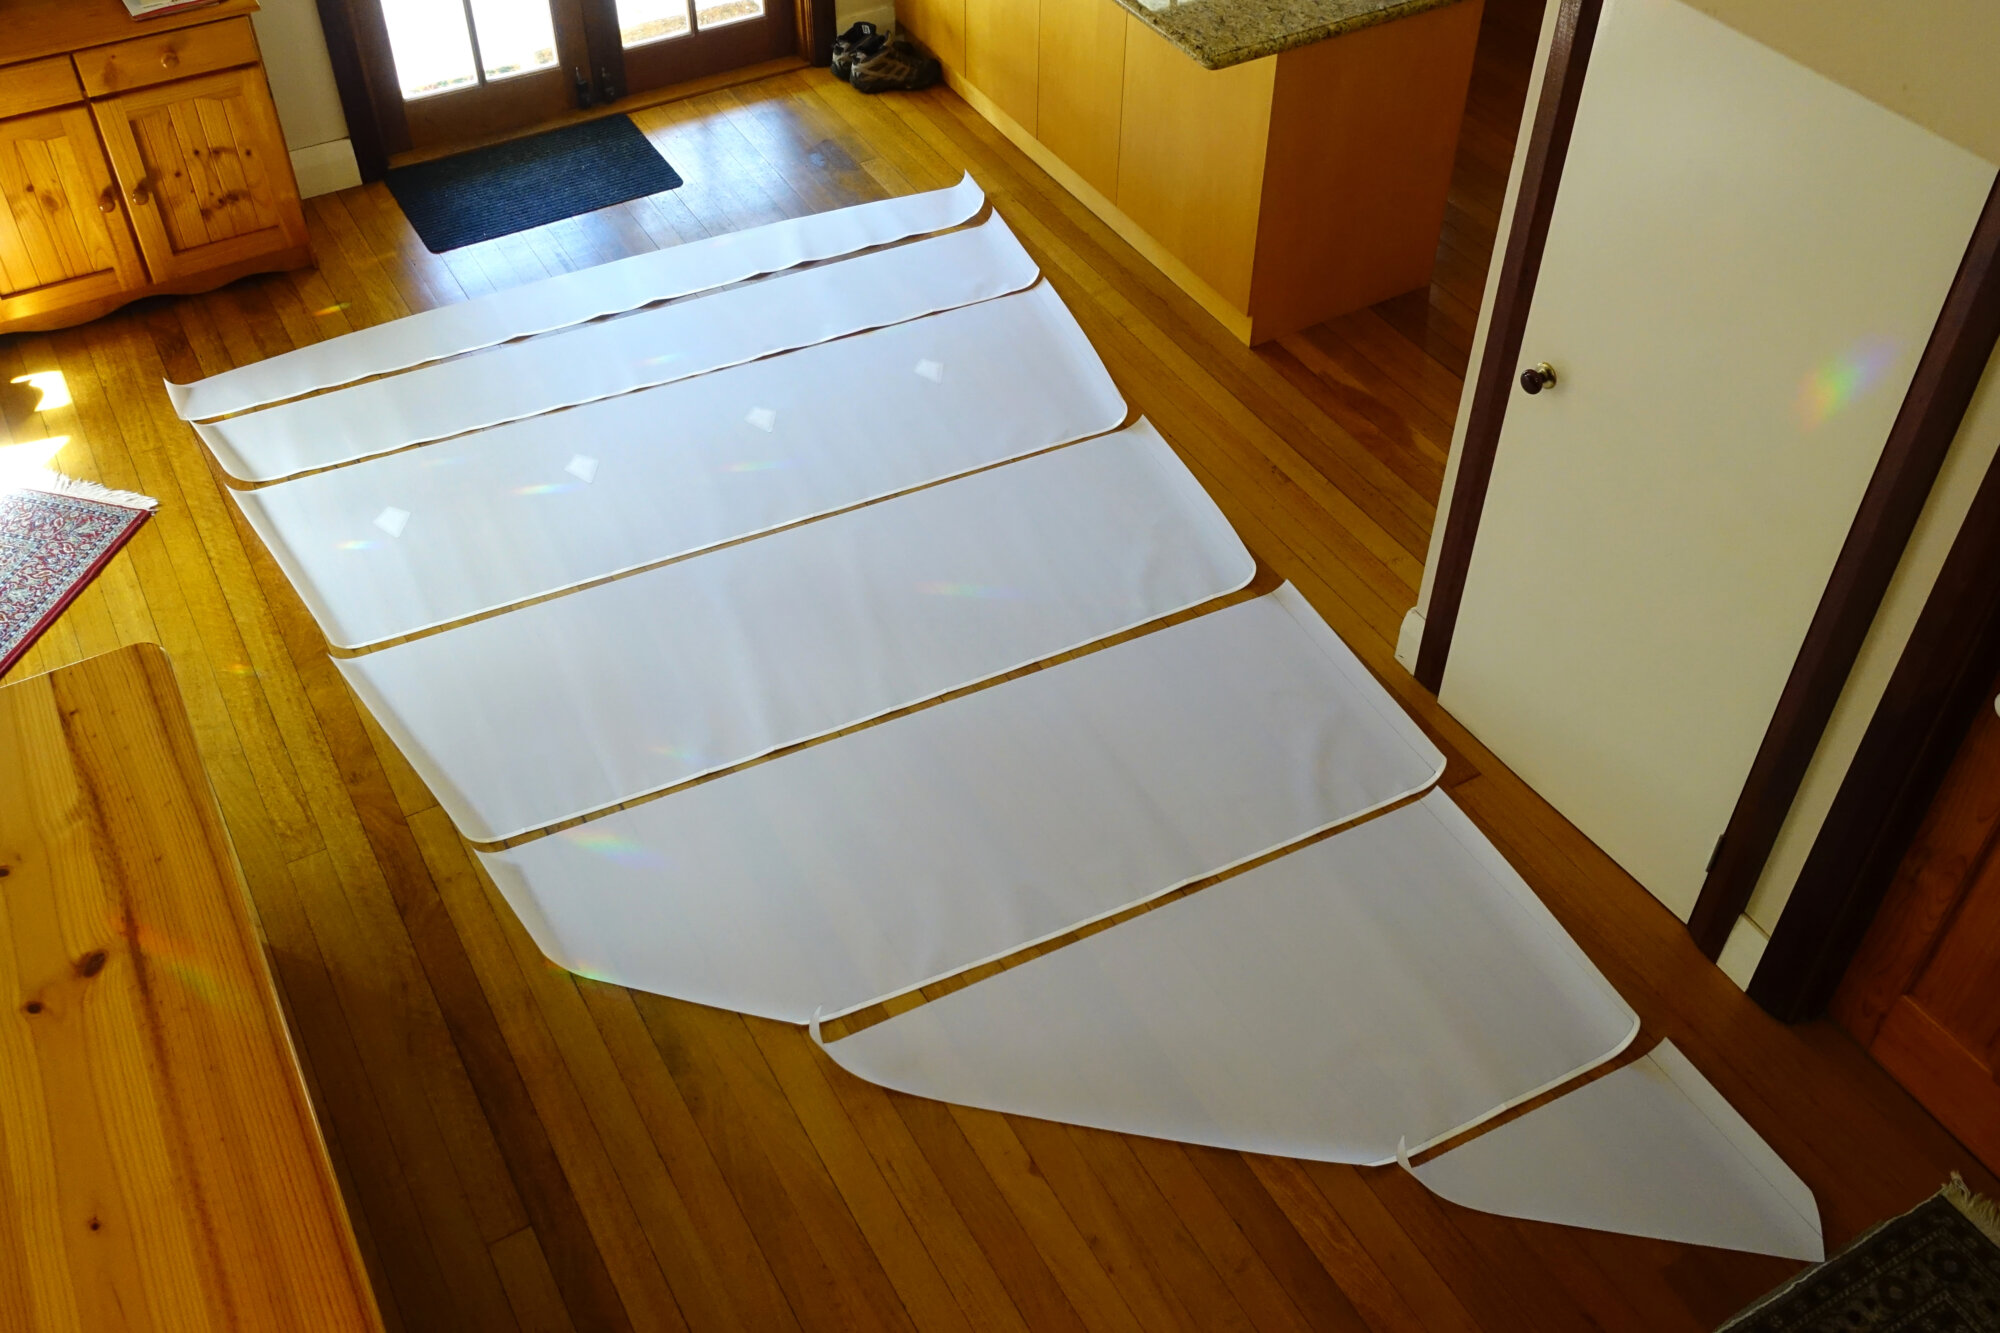
Well, it took me a whole week to put my little sail together. Not wanting to stuff things up I spent a fair bit of time carefully working out each step, I wanted to do justice to Graham’s generosity. Carefully I cut my panels out, hot knifing any edges that was going to be exposed. Then the panels were taped. Great accuracy is needed here to ensure you get an even curve in the sail with no kinks or hard spots. While doing this you also have to make sure the tension on the two panels of cloth are even so that no puckering in the sail would arise. Graham told me that on some difficult sails he might spend half an hour taping just one seam!
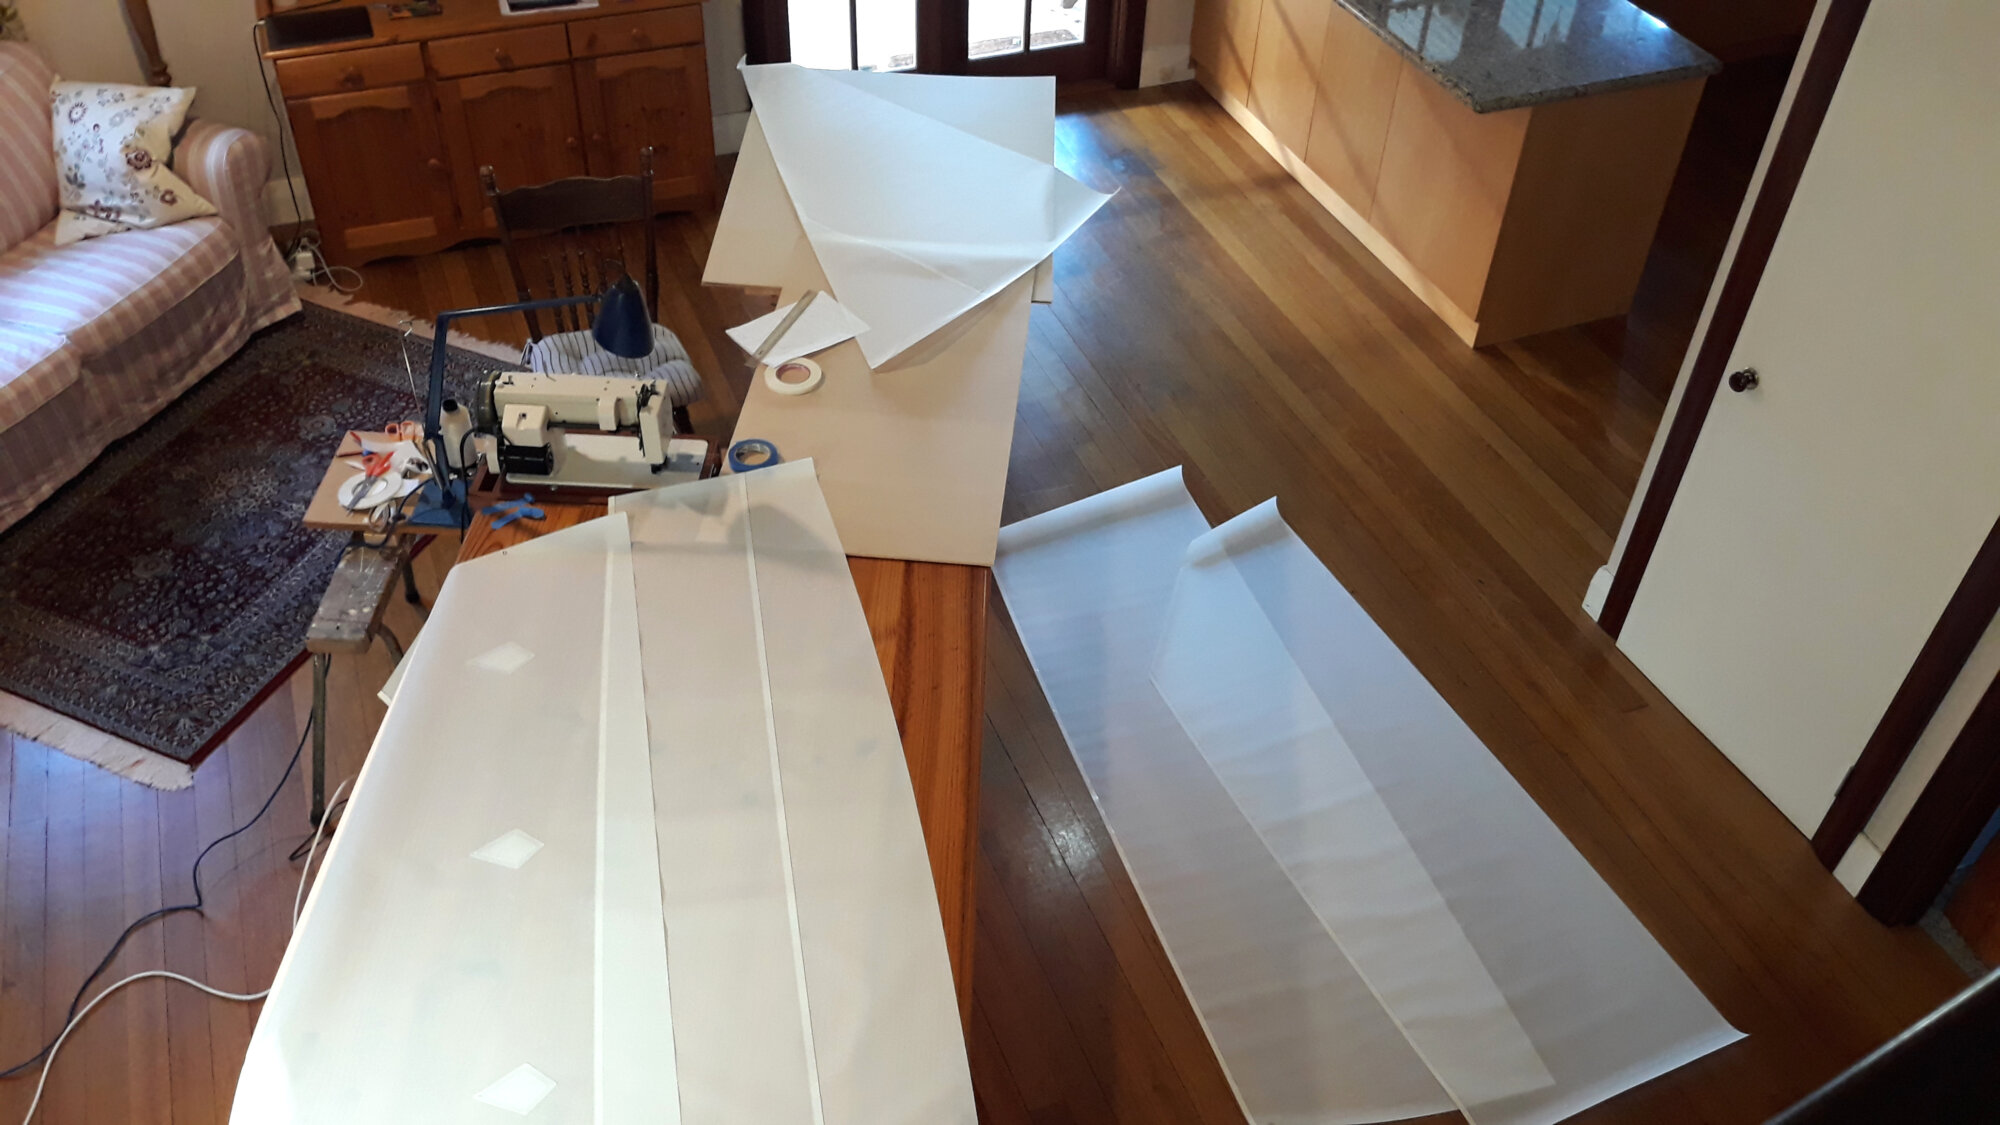
Then it was time to sew it up. I did no end of practice seams on scraps of cloth experimenting with thread tension, foot pressure etc, on my machine before I felt ready. The living room was then converted to a sail loft. The sewing machine was placed on trestles so that its working surface was level with the dining room table. Some sheets of MDF were placed on trestles to provide an additional surface in front of the machine to support the cloth as it went through. You need lots of space, you need room for the full sail to be able to sit completely in front of the machine, and room for it to sit completely behind the machine.
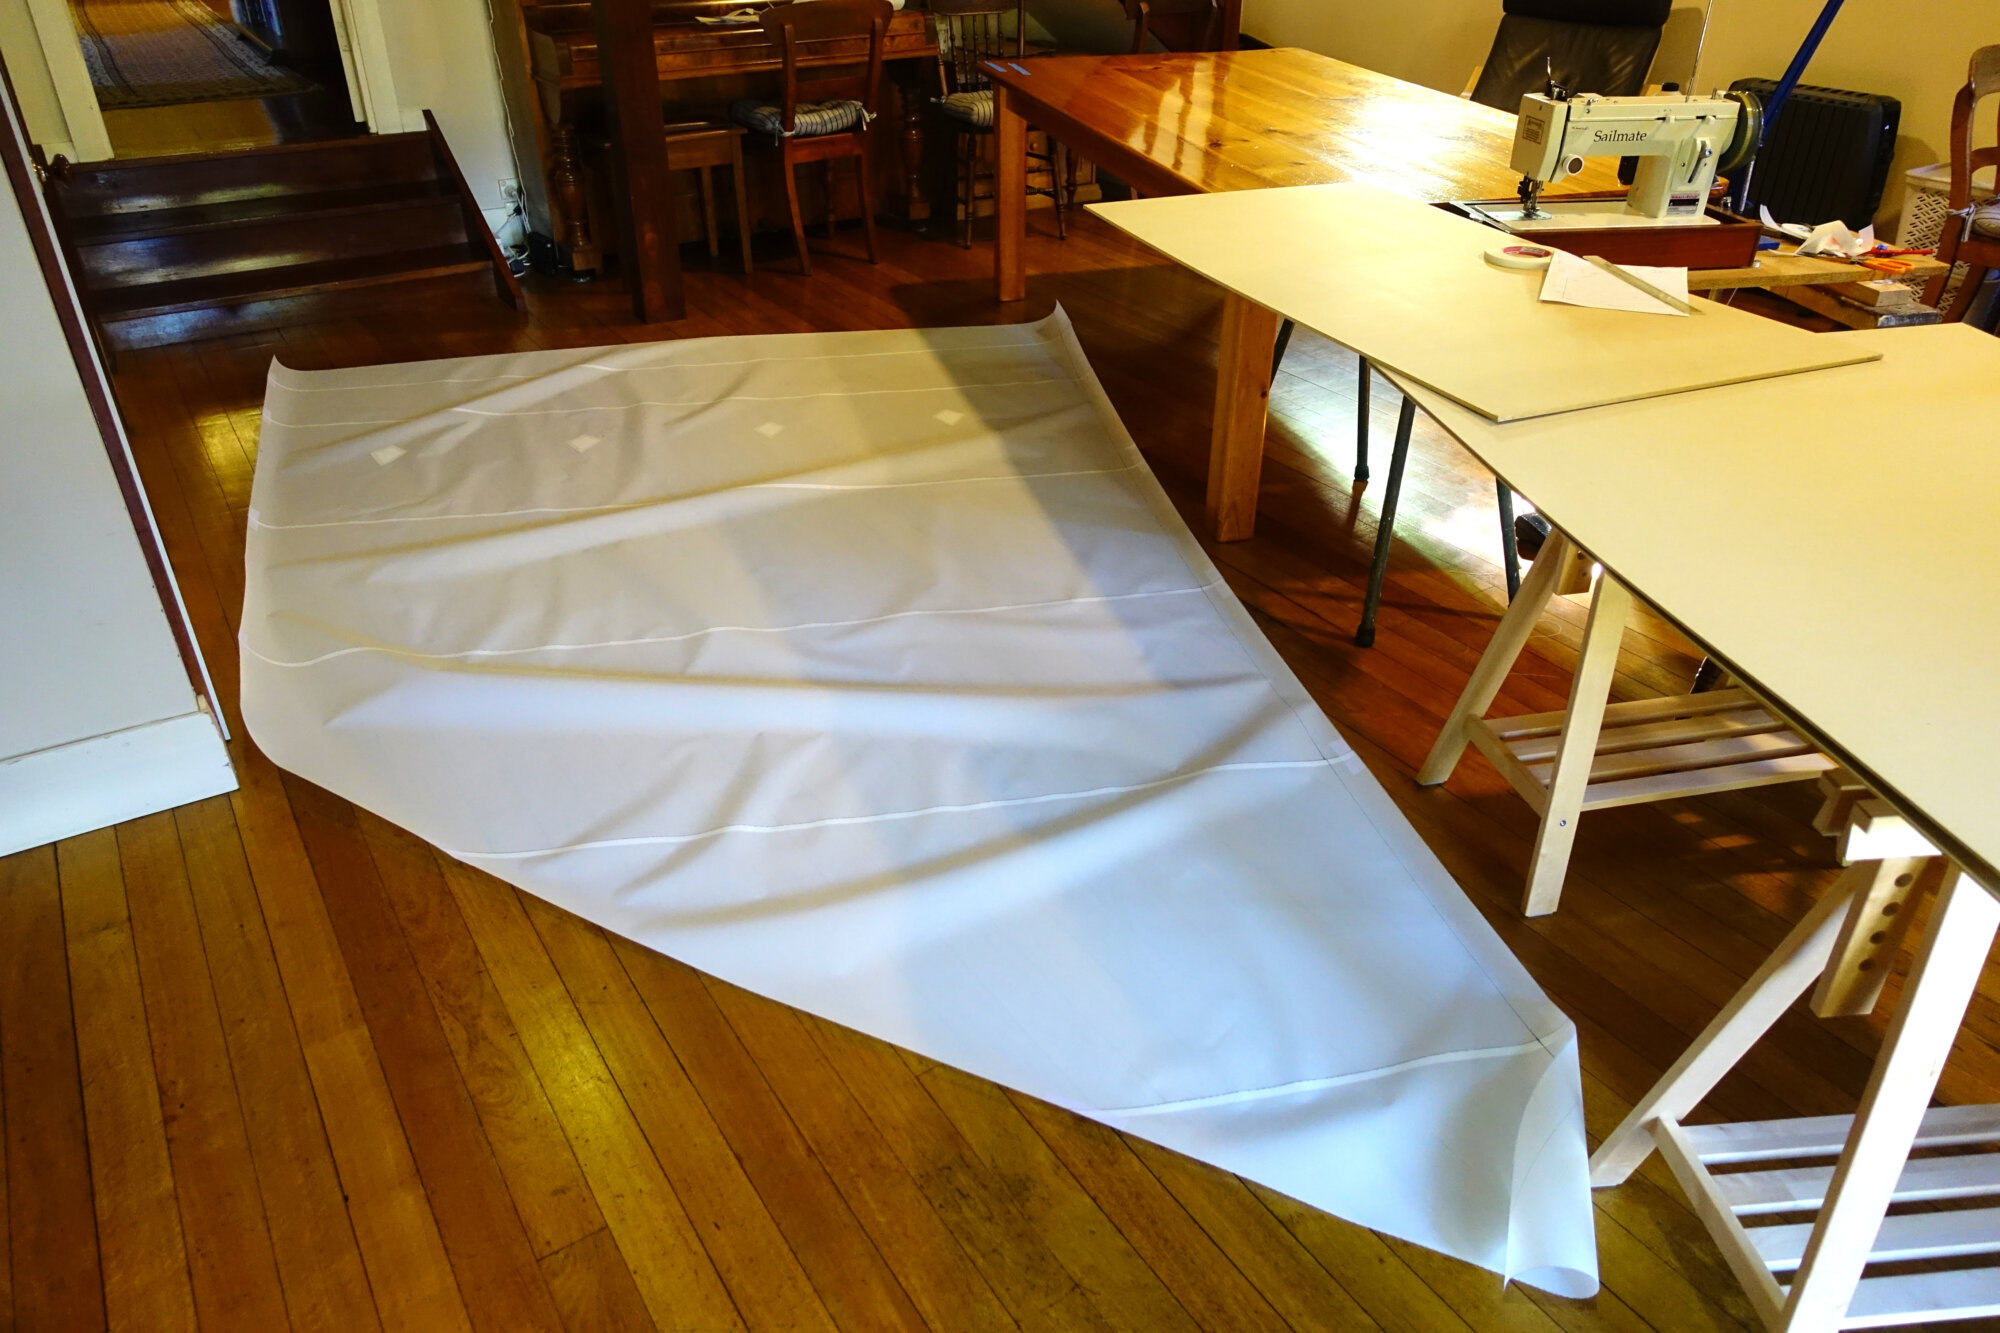
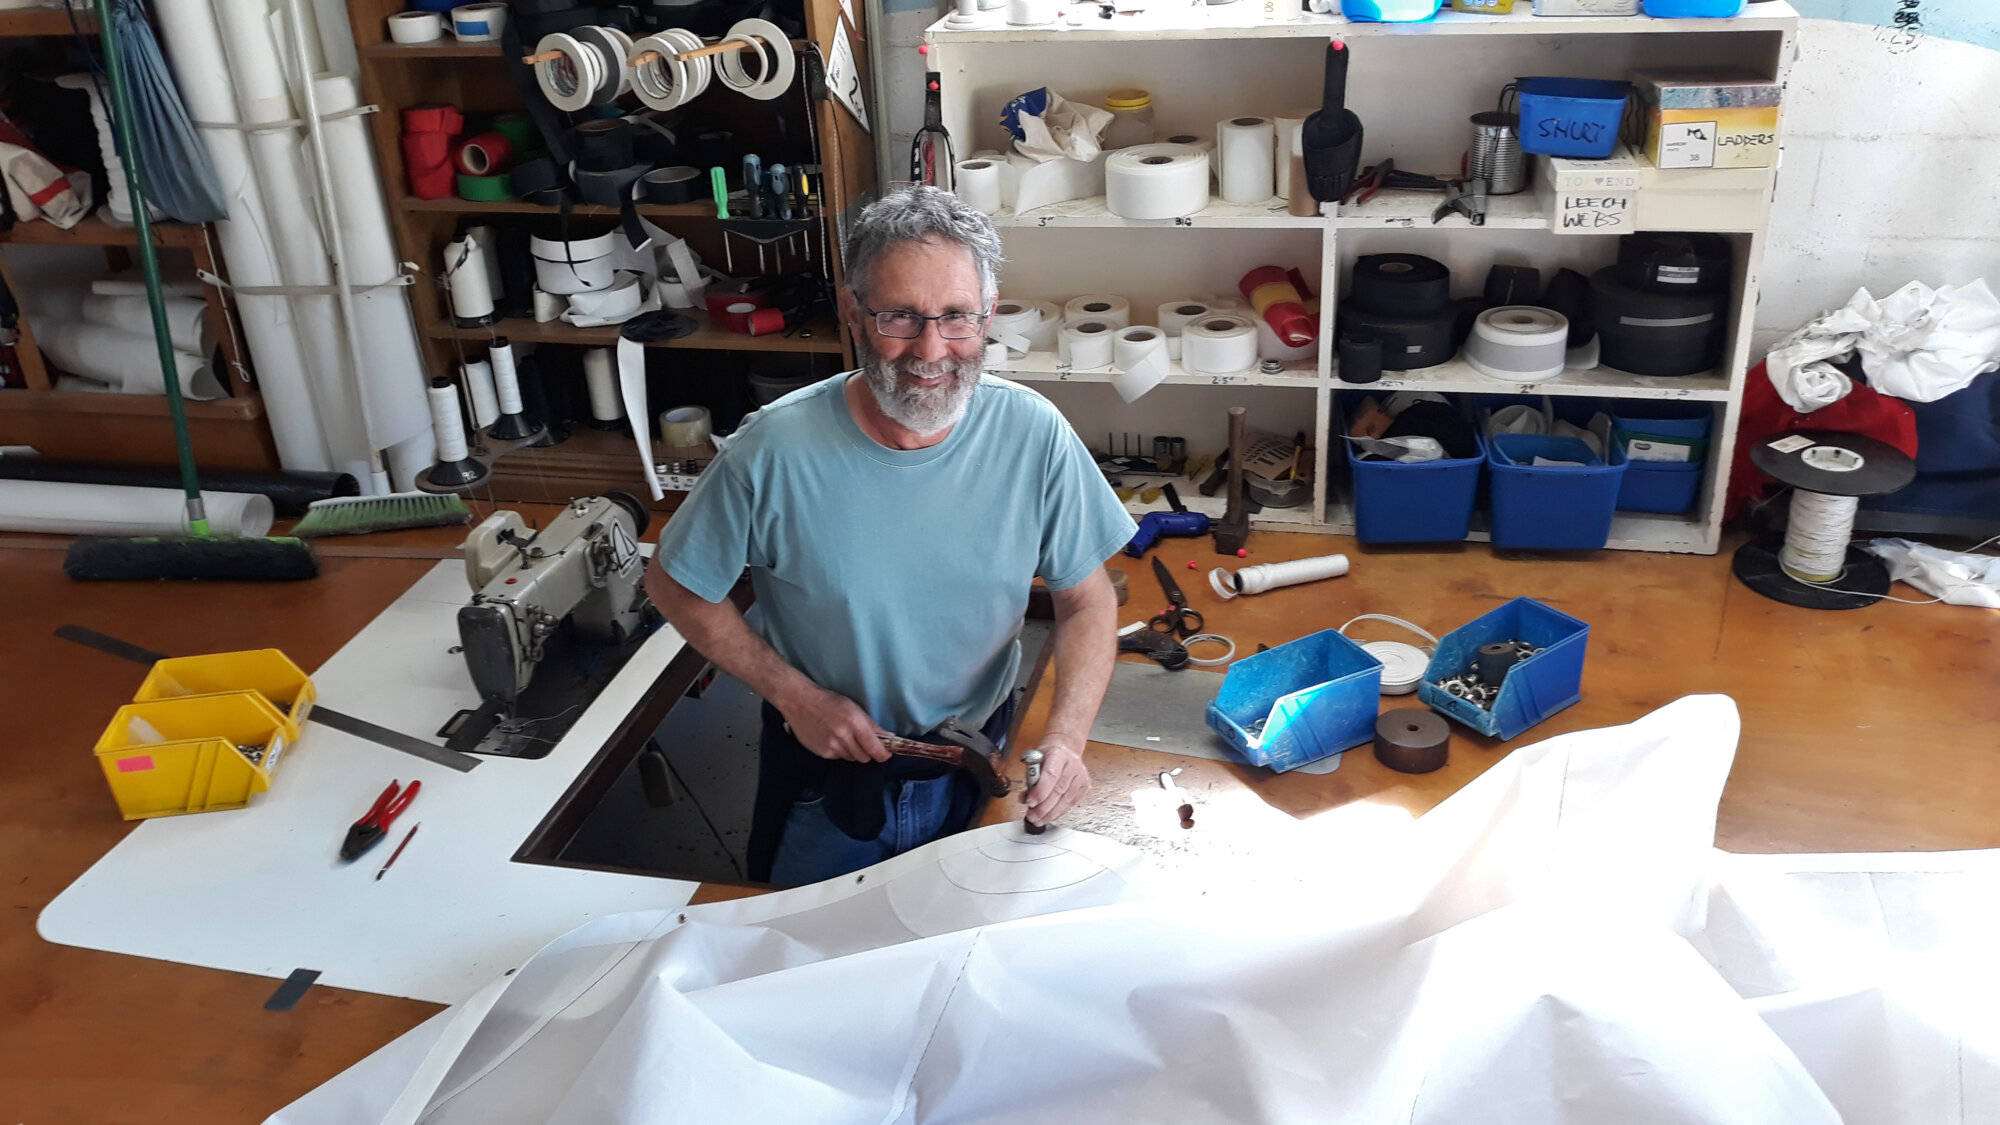
Well it all went very well. It looked really nice, I was really pleased with what I achieved. When I took the sail around to Graham’s to put in the eyelets he said nice things about it too. I don’t think he was just being polite!
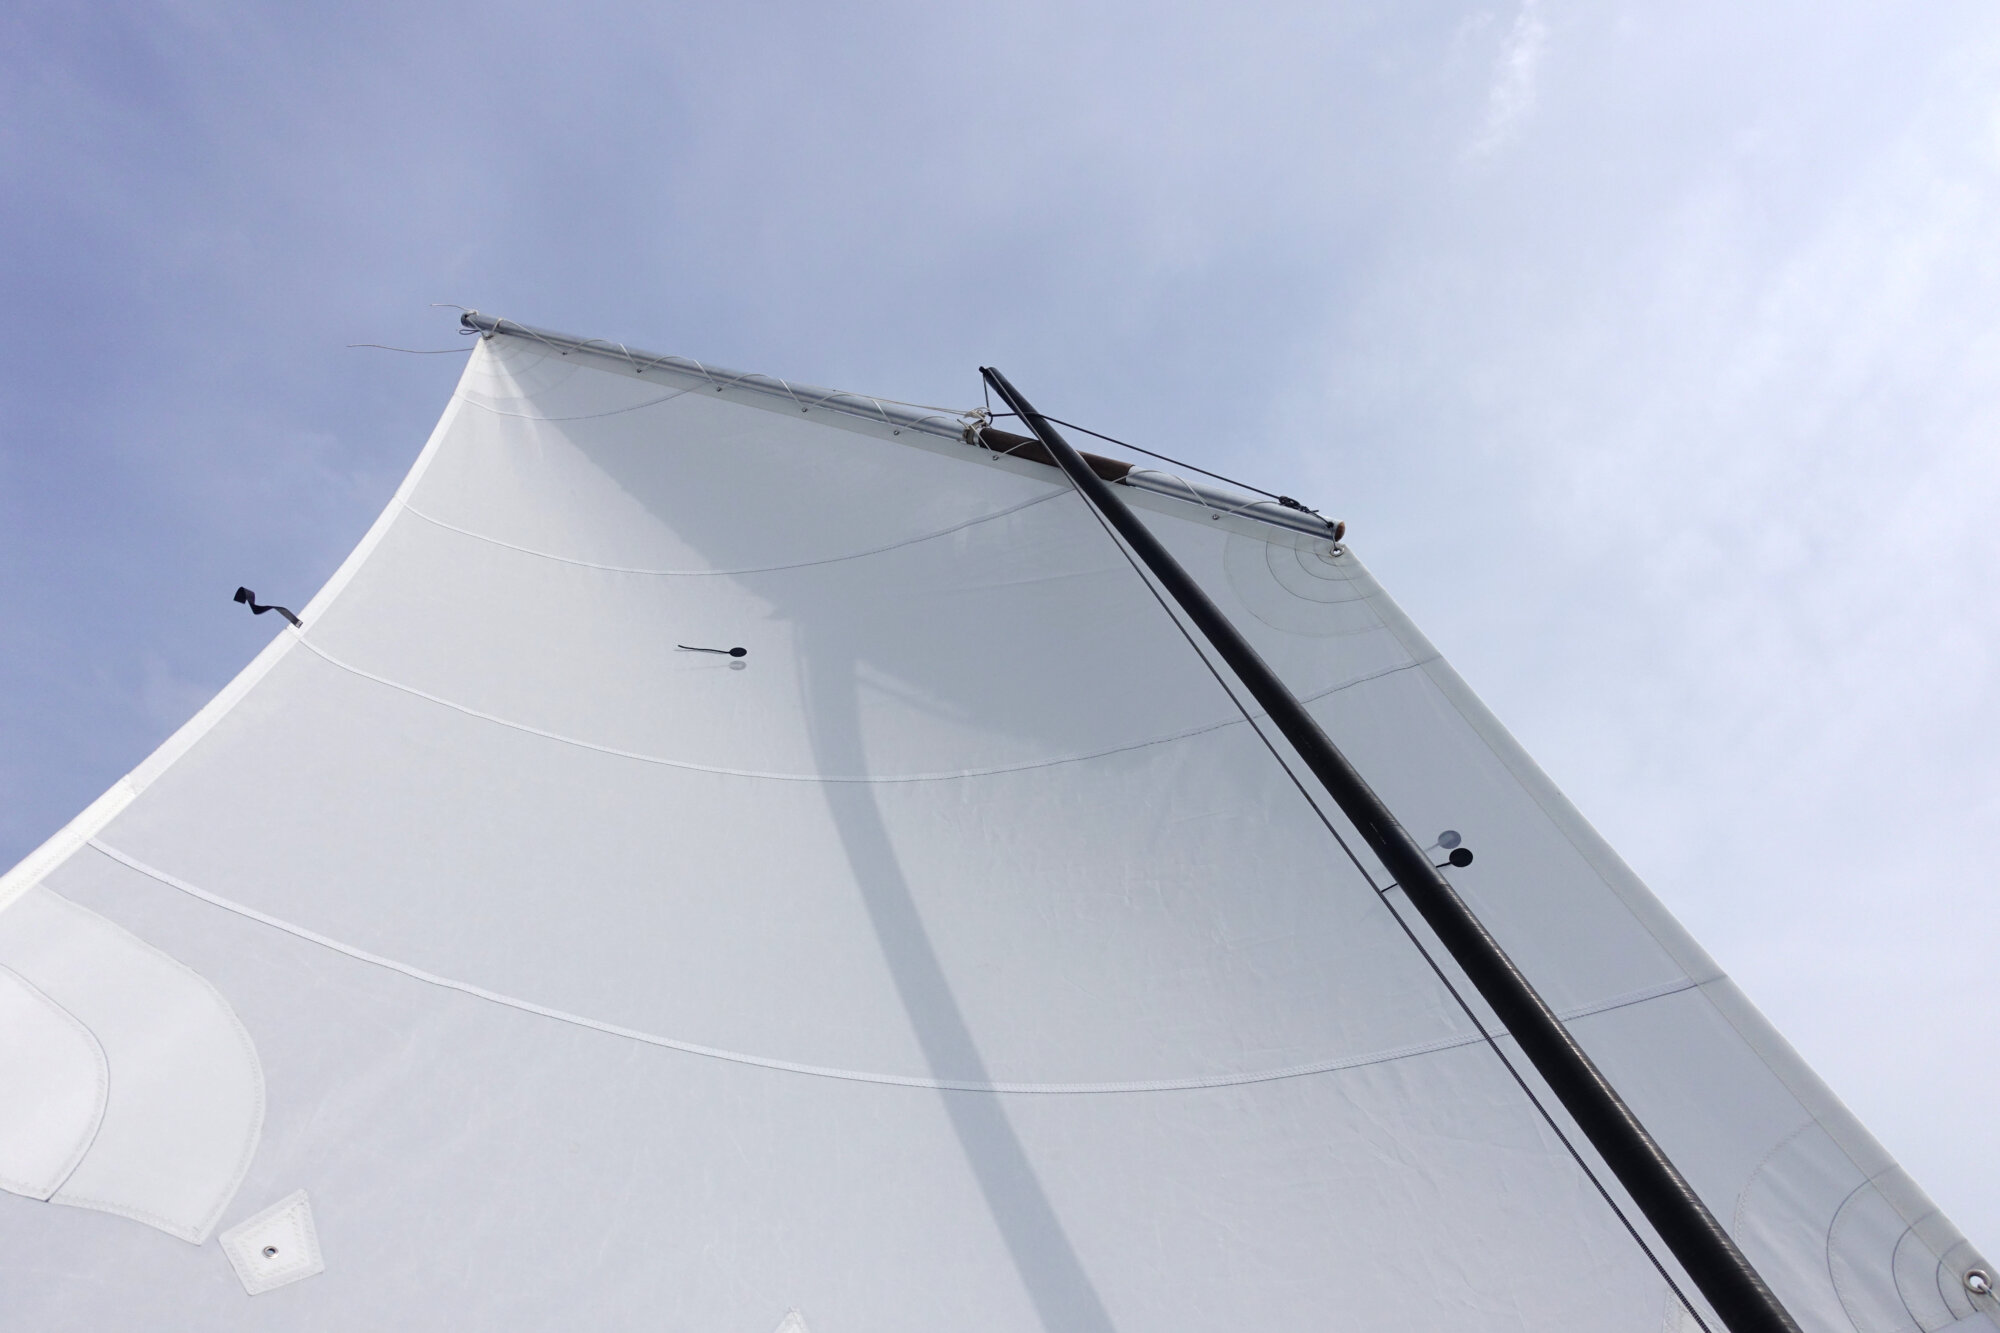
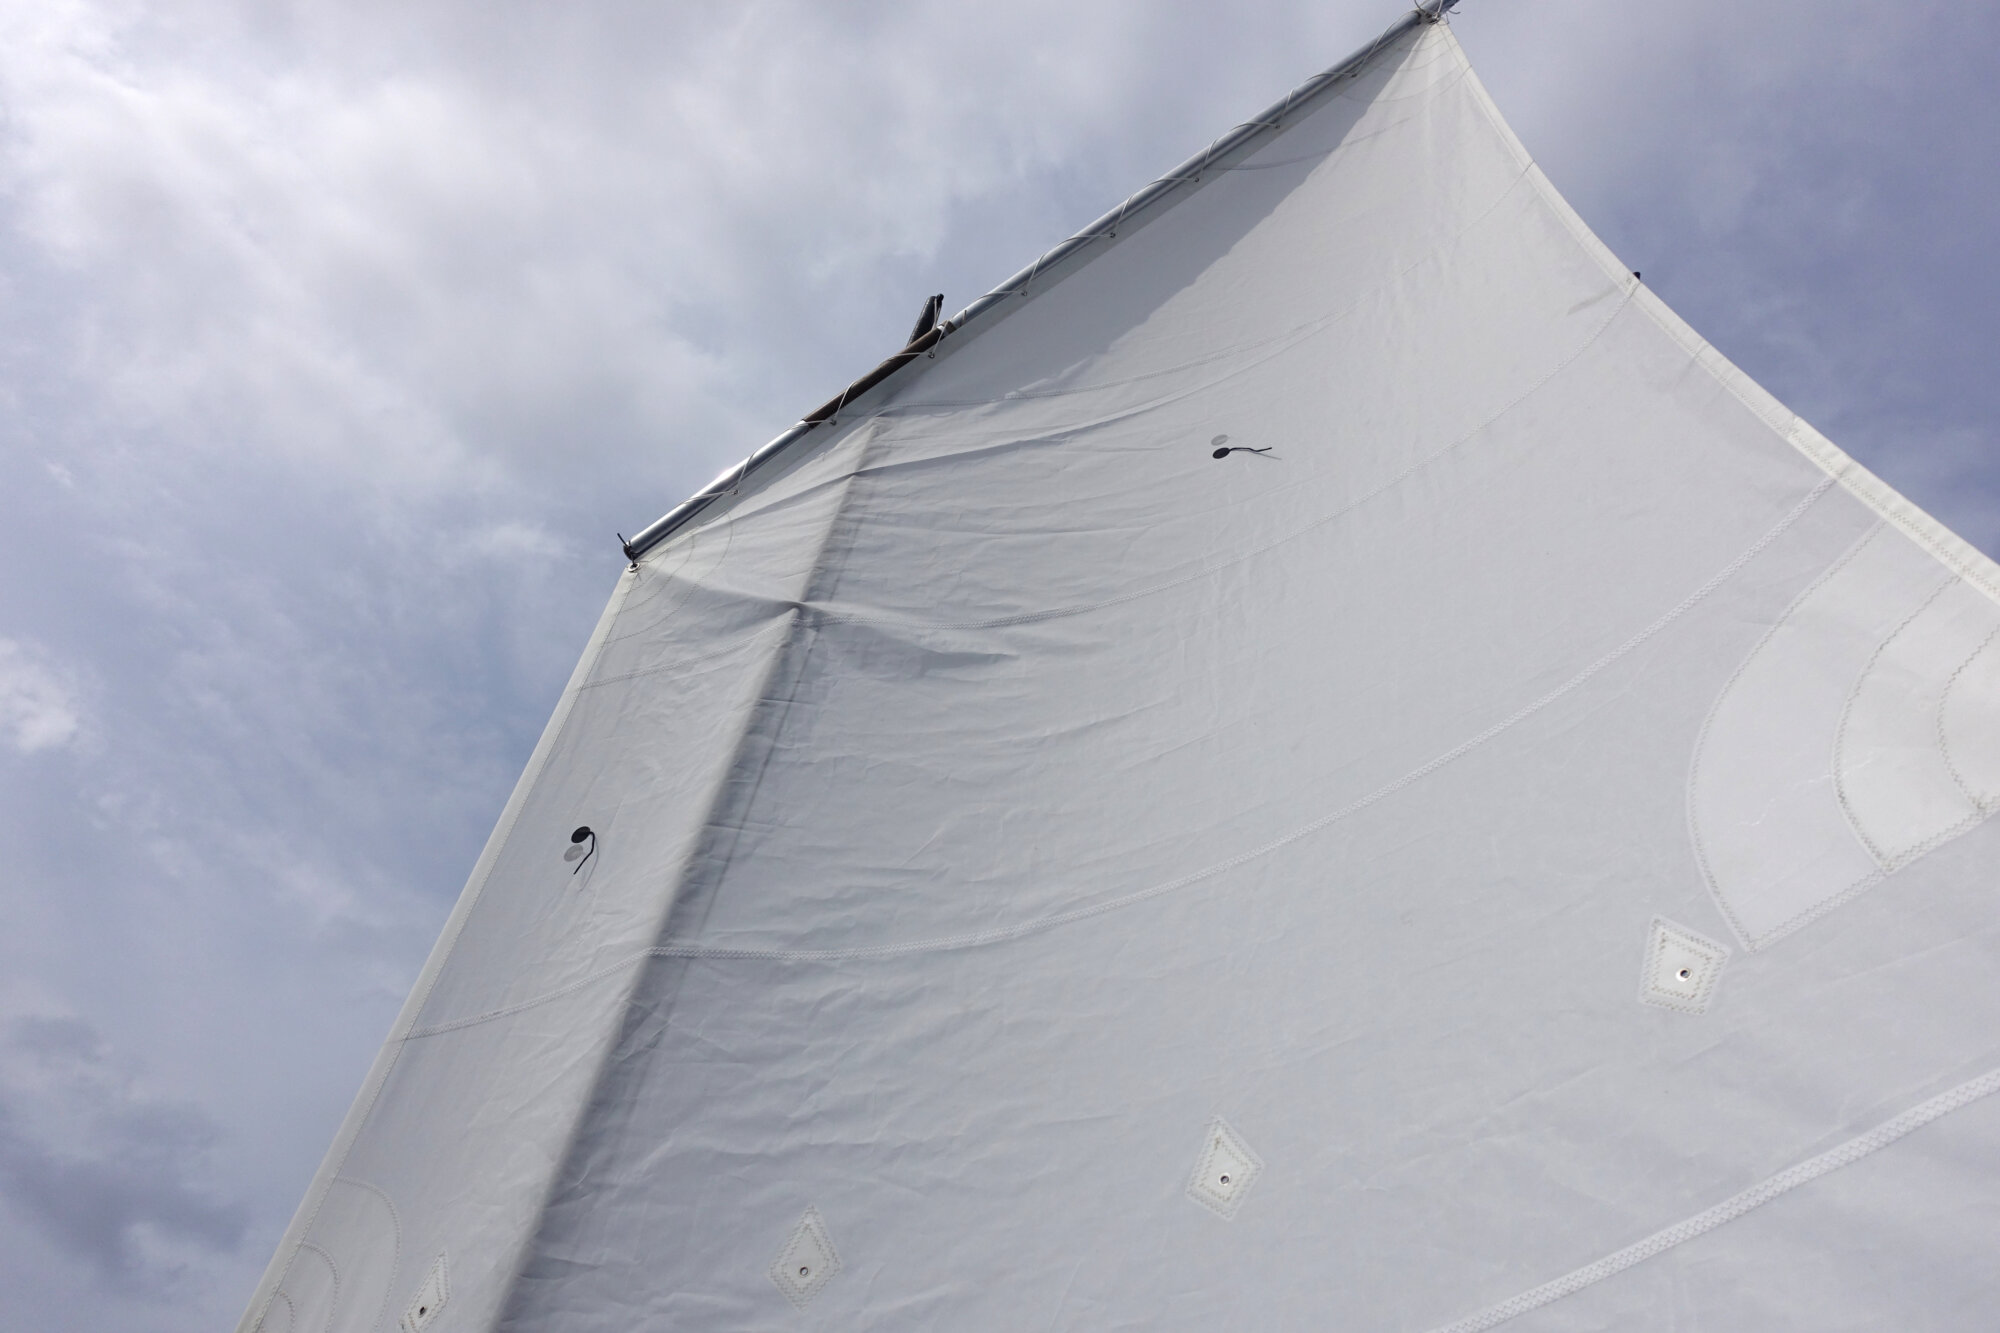
The sail performs beautifully and the shape is so much better than my old one. Having a sail where the design has been properly crafted by an experienced sailmaker makes such a difference. Thank you Graham.
I can assure you that making a sail is a lot of hard work. If you have some well made professional sails you should never complain about their cost!
Update:
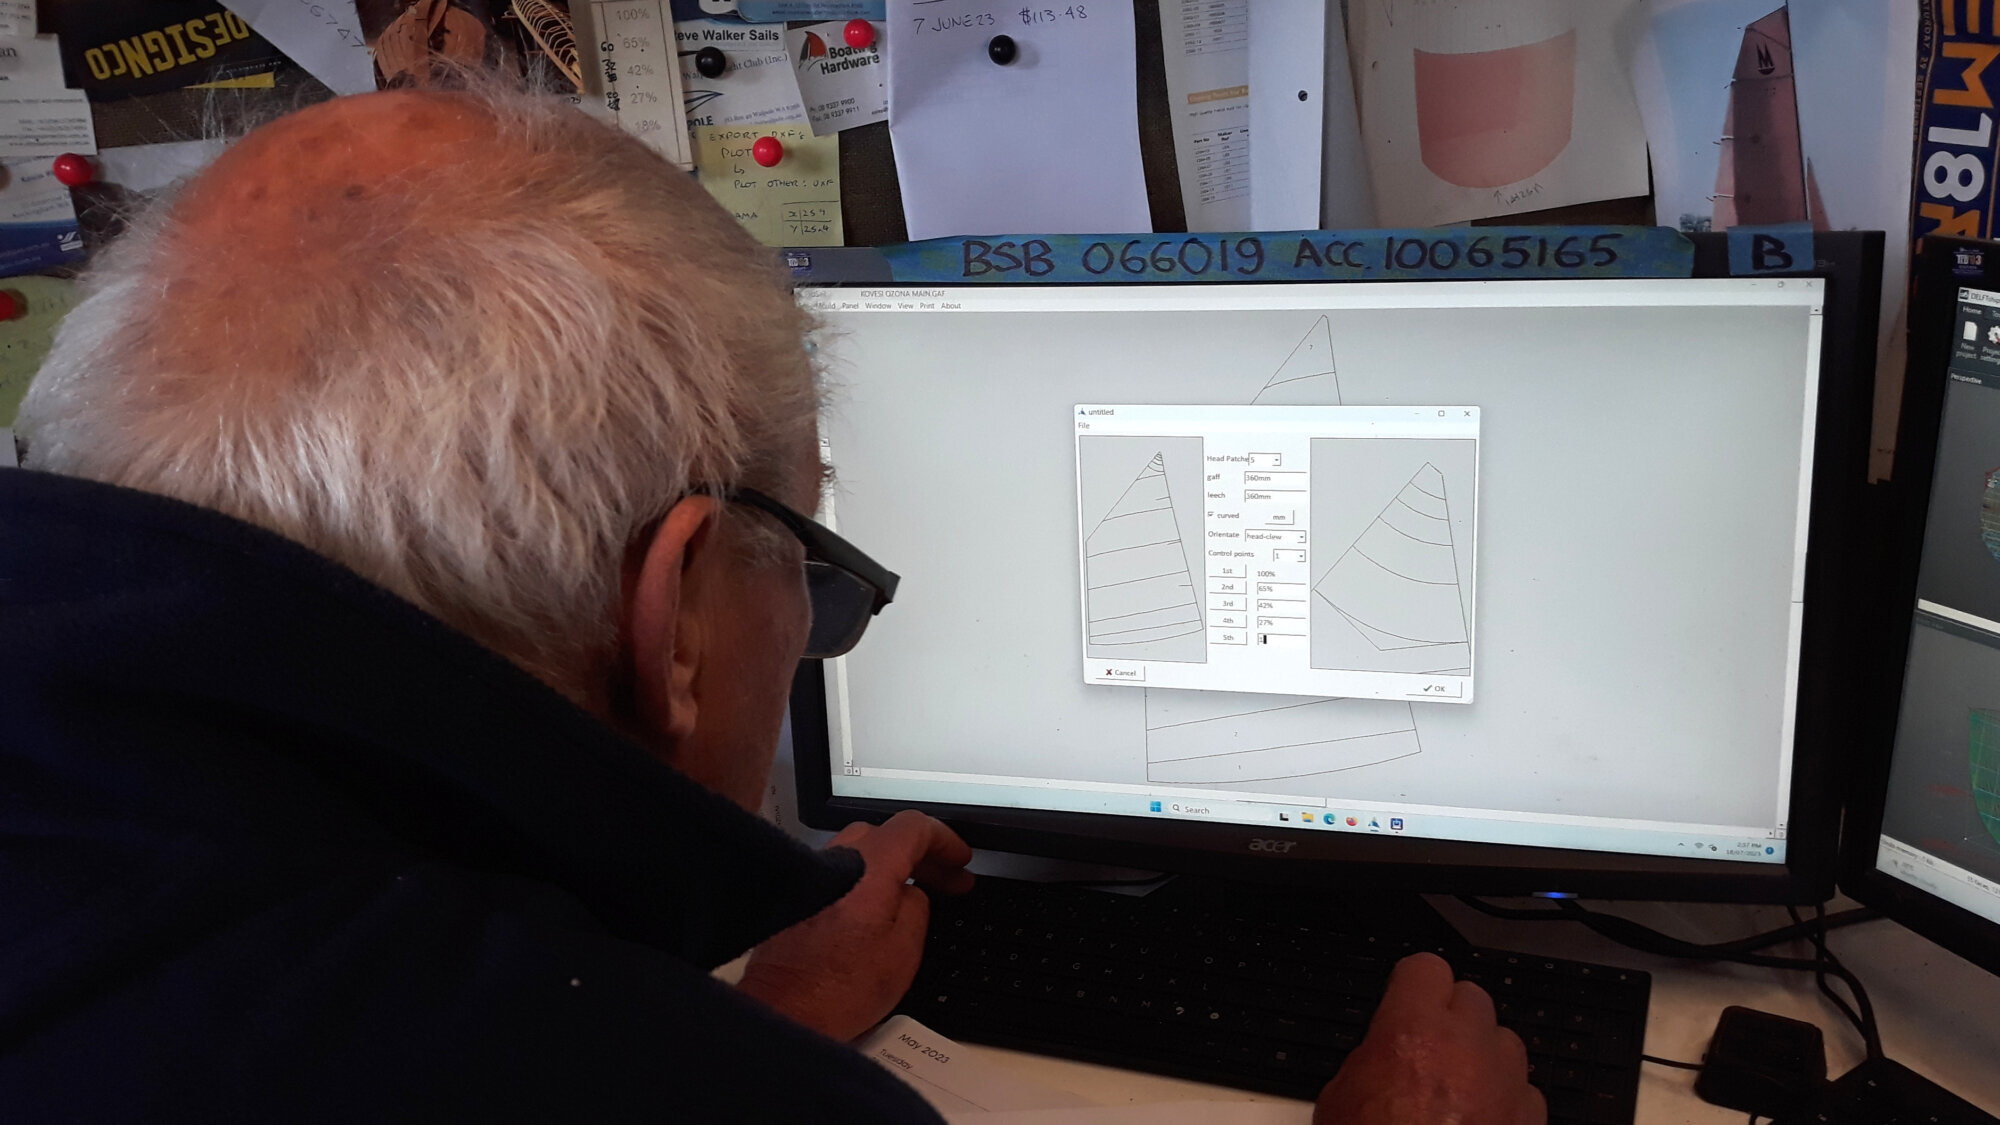
On looking at the photos Graham pointed out that the sail is a bit full in the head and that I could consider taking out some of the round in the sail along the yard. When he was designing the sail on his computer we discussed how much round we should have and, because we did not really know how much we needed, he made it slightly generous pointing out that it is much easier to remove some round than add it in. A bit of experience learning how to make adjustments to sails will be good. However, for the time being I shall use the sail a bit more under a wider range of conditions before committing to any adjustments.